Tuesday, December 31, 2019

Trying for One Last Finish

I have a few days left of the Christmas vacation and now that the holiday excitement is over I am trying to sew enough to hold me for another few months.
Auditioning Borders
I pulled out some UFO blocks and discovered thankfully that they were farther along that I thought and I had even left myself a note of what the plan was.  So I cut the needed sashing and started webbing it together.  At that point I wasn't loving it, so I auditioned a few borders, but for the sake of time I didn't agonize over it.  I made another round of white sashing with turquoise setting stones.
I think I like this.
The narrow black border was made from some strangely shaped pieces that I cut and pieced.  I wasn't sure there would be enough, but I had a back up plan just in case.  Turns out there was more than enough!  Next is a pink border.
Covering up the mess!  The yellow walls make it seem very yellow.
Since the girls were all gone on New Years Eve I was able to sew, sew, sew.  I got the last borders on.  Done! 

Looking good on the banister.

Sunday, July 21, 2019

Stash Report - July 21, 2019

Fabric In: I got some pretty pink scraps at the thrift store.  Half yard $0.50.  I used self control and left lots of other fabric behind!  As summer (vacation, not temperatures!) draws to an end the reality is that I won't have much stitching time in the coming months and I have plenty of fabric to work with if I need.

Fabric Out: 

I finished the Ballerina Quilt.  Backing & binding.  1.48 yards

Finished the Scrappy Mountain Majesty baby quilt.  Backing & binding.  1.48 yards

Finished the Brown & Brights D9P.  Backing & binding.  1.48 yards

Sent 6 unfinished baby quilt tops + miscellaneous backing, binding and orphan blocks for donation to someone who will finish them and pass them on.  That is the most reasonable thing for me to do.   I really enjoy the piecing, but finishing is my weak point.  11 yards

Made a chair cushion for my sewing chair.  0.66 yards

Made an apron to send down to a niece in Guatemala.  0.5 yards

I also made 2 bags for College E to store/carry her 5 lbs weights.  I used old jean legs and they seem to be pretty sturdy.  But I had to make 2 to carry 10 lbs each.  20 lbs was too much to handle comfortably.  This is a much better arrangement than the shoe box she was using.  0.46 yards

I spent 10 hours over 3 days making 8 new dining table chair cushion covers for my sister.  The old ones had zippers in the back even though she had never taken them off to wash in upmteen years.  I suspected the zippers made finishing the covers easier than hand sewing the edge closed.  After making a sample that proved to be true.  The process went relatively quickly and most importantly I did not end up doing it at the last minute before going back to school so I was pleased.  Lots of time and learning involved, but not a drop of fabric from my stash used in the process. Too bad.

Fabric Purchased Since Last Report - 0.5 yds
Fabric Purchased YTD - 70.5 yds

Free to Me Since Last Report - 0 yds
Free to Me YTD -  14.37 yds

Fabric Used Since Last Report - 17.06 yds
Fabric Used YTD - 72.02 yds

Fabric Movement -  12.85 yards stashed 

Total Spent - $43.25
Price/Yard YTD - $0.52 / yard

Realistically giving away what I will not use is working well.  I am okay with sewing for pleasure and giving away for pleasure as well.  When I need fabric for something specific I have no doubt that I will have what I need on hand!!  

2019+15+minute+To+Stitch_2-001.jpg (1600×1600)
Kate from Life in Pieces has challenged us to try for 15 minutes each day of stitching.  I worked hard on finishes this week.  I only missed Friday because I spent the morning with College E (we are running out of days), the afternoon with my sisters, and the evening at Buddy Break.  Sewing didn't even cross my mind until about 11:30 pm.  Nope.  Not happening.

My numbers might seem a little off, but that is because I didn't start the challenge until May.

Days spent on sewing related tasks since last report: 6/7
Days spent on sewing related tasks this month: 18/20
Days spent on sewing related tasks this year: 75/81
Percentage of time on task: 93%

Linking up to QuiltPaintCreate and Life in Pieces to stay accountable.

Saturday, July 20, 2019

Tutorial - Lined Tote Bag

  Lined Tote Bag
½ yard focus fabric
       ½ yard lining fabric
       1 ½ yard 1” grosgrain ribbon or webbing for handles
       coordinating thread
Cut focus fabric & lining.
1.  Cut 2 16” x 14” (or whatever size you desire) rectangles from the focus fabric.   

2.  Cut 2 16” x 14” (or whatever size you desire) rectangles from the lining fabric.
Sew side seam.  Decorate if desired.
3.  Place focus fabric rectangles right sides together.  Sew 1 short side.
Open and press. If you are adding decoration or pockets now is the time!

4.  Place lining fabric rectangles right sides together.  Sew 1 short side.
Open and press. If you are adding inside pockets now is the time.
Sew remaining 2 sides.
5.  Fold focus fabric panel in half and sew 1 long side (bottom) and the remaining
short side (side).  

6.  Fold lining panel in half and sew 1 long side (bottom) and the remaining
short side (side).

Three sides are now sewn.
This is the tricky part.  Boxing the corners. 
7.  Grab body of bag between fingers and pull apart near the corners. 
Line up seams so that the corner creates a right angle between the front and
back section and the seam is in the center.
Pin, mark, and .......
8.  With a ruler - preferably with a right angle marking - center the seam. 
Draw a stitching line. The length of the stitching line will be the width of your bag. 
Pin in place.

9.  Repeat on all corners of outer (focus fabric) bag and lining bag.
........ Sew!
10.  Sew corners.  
Cutting off the excess fabric is optional.
Square them up nicely!
11.  Poke out corners so the bags are nice and square.
Pin straps.
12.  Cut straps the desired length.

13.  Using a ruler as a guide place straps 3” to 3.5” from the side of the outer bag. 
Make sure right sides are together and straps are not twisted.
Use 2 pins to pin in place so it will stay even with the top.  
Right sides together - very important!
14.  Turn lining bag inside out.  Place outer bag inside lining bag. 
Right sides should be together. Line up tops neatly.  Pin tops together.
Leave an opening - very important!
15.  You will sew around the top leaving a 3” - 4” unsewn opening
Do not leave the opening where the straps are or between the straps. 
Double pin the outer limits of the place that you will leave open.  
Leave an opening - super important!!
16.  Begin sewing the bag top at the double pins on the right and continue
sewing around until you reach the double pins on the left.  Make sure to
back stitch at the start and stop.  

Note: I like to backstitch over each strap after I’ve sewn over it to reinforce it.
Turn right sides out.
17.  Carefully pull the bag sections through the hole that you left open.  
Press the top edge neatly, especially the opening.
18.  Make sure the corners are nice and neat and press everything carefully.

19.  Press the top edge of the bag.  Make sure to press the opening so that it
visually matches the sewn edge.
Top stitch.
20.  Sew around the top edge of the bag making sure to sew the opening closed.
Two-color version.
Inside pocket.

Fill it with goodies 
and go show it off !!

Last Saturday Sewcial of the Summer

School starts for teachers on August 1, so this was the last Summer Saturday Sewcial at the Library.
We made lined tote bags.

Each participant brought their own fabric which lets us all "oooh" and "aaaah" over the beautiful finished products that are unique to each participant.
This is a good project to practice straight line stitching, pressing, turning, making boxed corners, right sides together and many other practical sewing techniques.
I checked out a few tote bag tutorials before the class and didn't find one that was detailed enough for my beginning beginners.  So I made some samples and wrote my own.  The Lined Tote Bag tutorial is HERE.  Check it out. The participants followed along with the printed tutorial even though I walked them through it step by step and it seemed to work well so I will add it to the blog.
Hopefully we will be able to meet again in September once school has settled down.  Zipper pouch is next on my radar!


Friday, July 19, 2019

Long Overdue Carpenter Star

When we went to Guatemala for Christmas the girls and I helped prep this quilt for my MIL to make for my niece.  I had just made a blue one and she liked the look.  They aren't hard to cut or sew, just tricky to layout.

We figured out the layout and numbered the pieces to help her keep it all straight when she sewed it up.  There was even an extra bed to keep it out on. 
I wrote about the process.

She got the center star sewn and started pinning pieces to sew together when an urgent sewing job came in and she had to set it aside.  I heard what had happened, so that was the first thing on my TO DO list when I went back to visit.

When she unrolled the sheet it had been on I wasn't sure what we would find.  It was a big "wad" of pieces.  I was very pleased with all the pinning.  That helped a lot as far as getting the layout right.  And we found the photos on the blog and I was able to work from that to get it set up again.  Once I got it right, she pinned the pieces to the sheet just in case!  The sewing was pretty easy once I got used to her machine. 

Ta..daaa....  The center is all sewn.  She thinks she will add two borders to make it a little larger.  I am so glad that I was able to help her straighten this out and that it will eventually get into the hands of a cute little girl. 

Now I think I need to make a pink one for me!  I really like this design.

Sunday, July 14, 2019

Stash Report - July 14, 2019

I was in Guatemala last week when I took Little S down to stay the month to work on her Spanish and spend time with family.  Even though I've been back a few days I'm all off on posting and reporting.  I'll start my catch up with a stash report.

Fabric In: College E and I went out thrifting and I found some large pieces of flannel that will make a good baby backing -  $4 for 4 yards & 30"  A red & white strip - $1 for 0.75 yards.  Because of the rewards program at the Hospice Thrift store I did not have to pay for the fabric - or 2 of the 3 shirts we got!  WooHoo! At another thrift store I got a cadet blue - $0.25 for 0.45 yards.


Fabric Out: Not so much out since I was sewing with my MIL's stash in Guatemala.  But I did get a few things done when I got back.

I got a start on a ballerina baby quilt for College E to take to a family friend when she goes to Guatemala to bring back Little S at the end of the month.  Quick and simple.  Just needs borders (maybe) and quilting.  Backing is already set aside and will dictate the size of the quilt. 1.25 top
Ballerinas and roses got sewn together right after this photo.
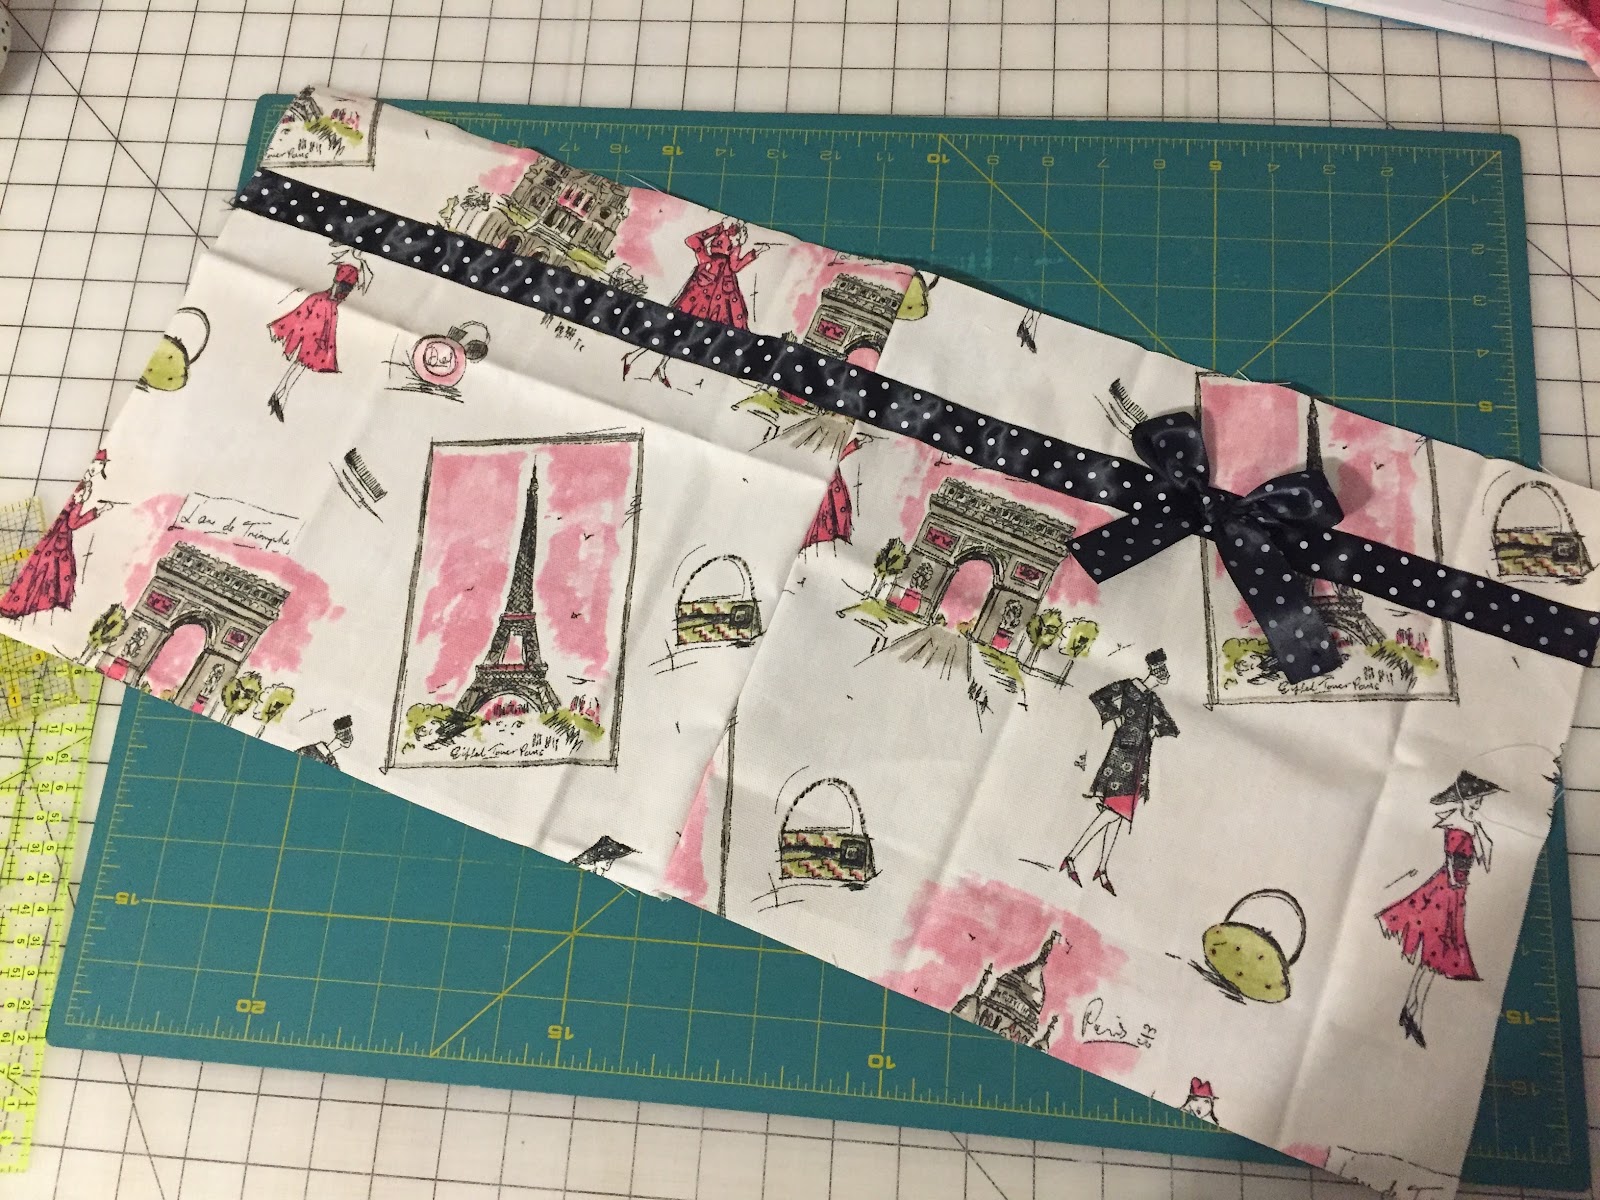
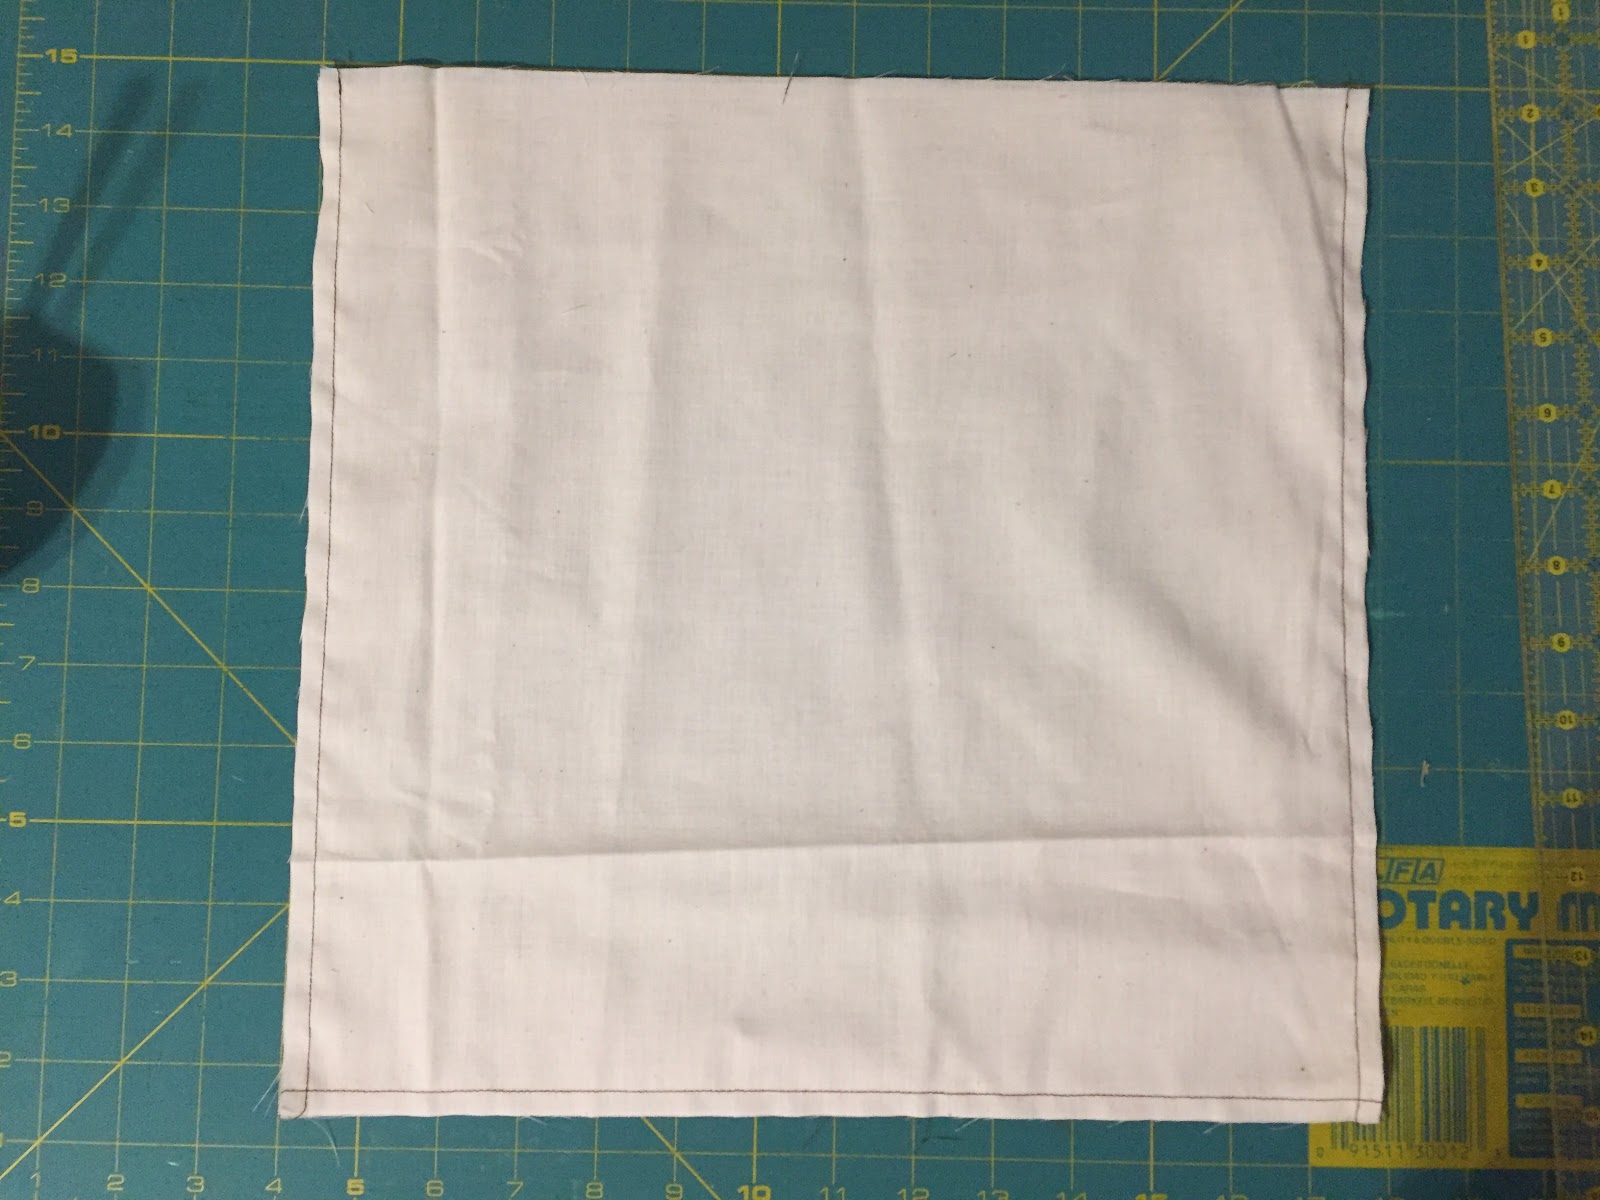
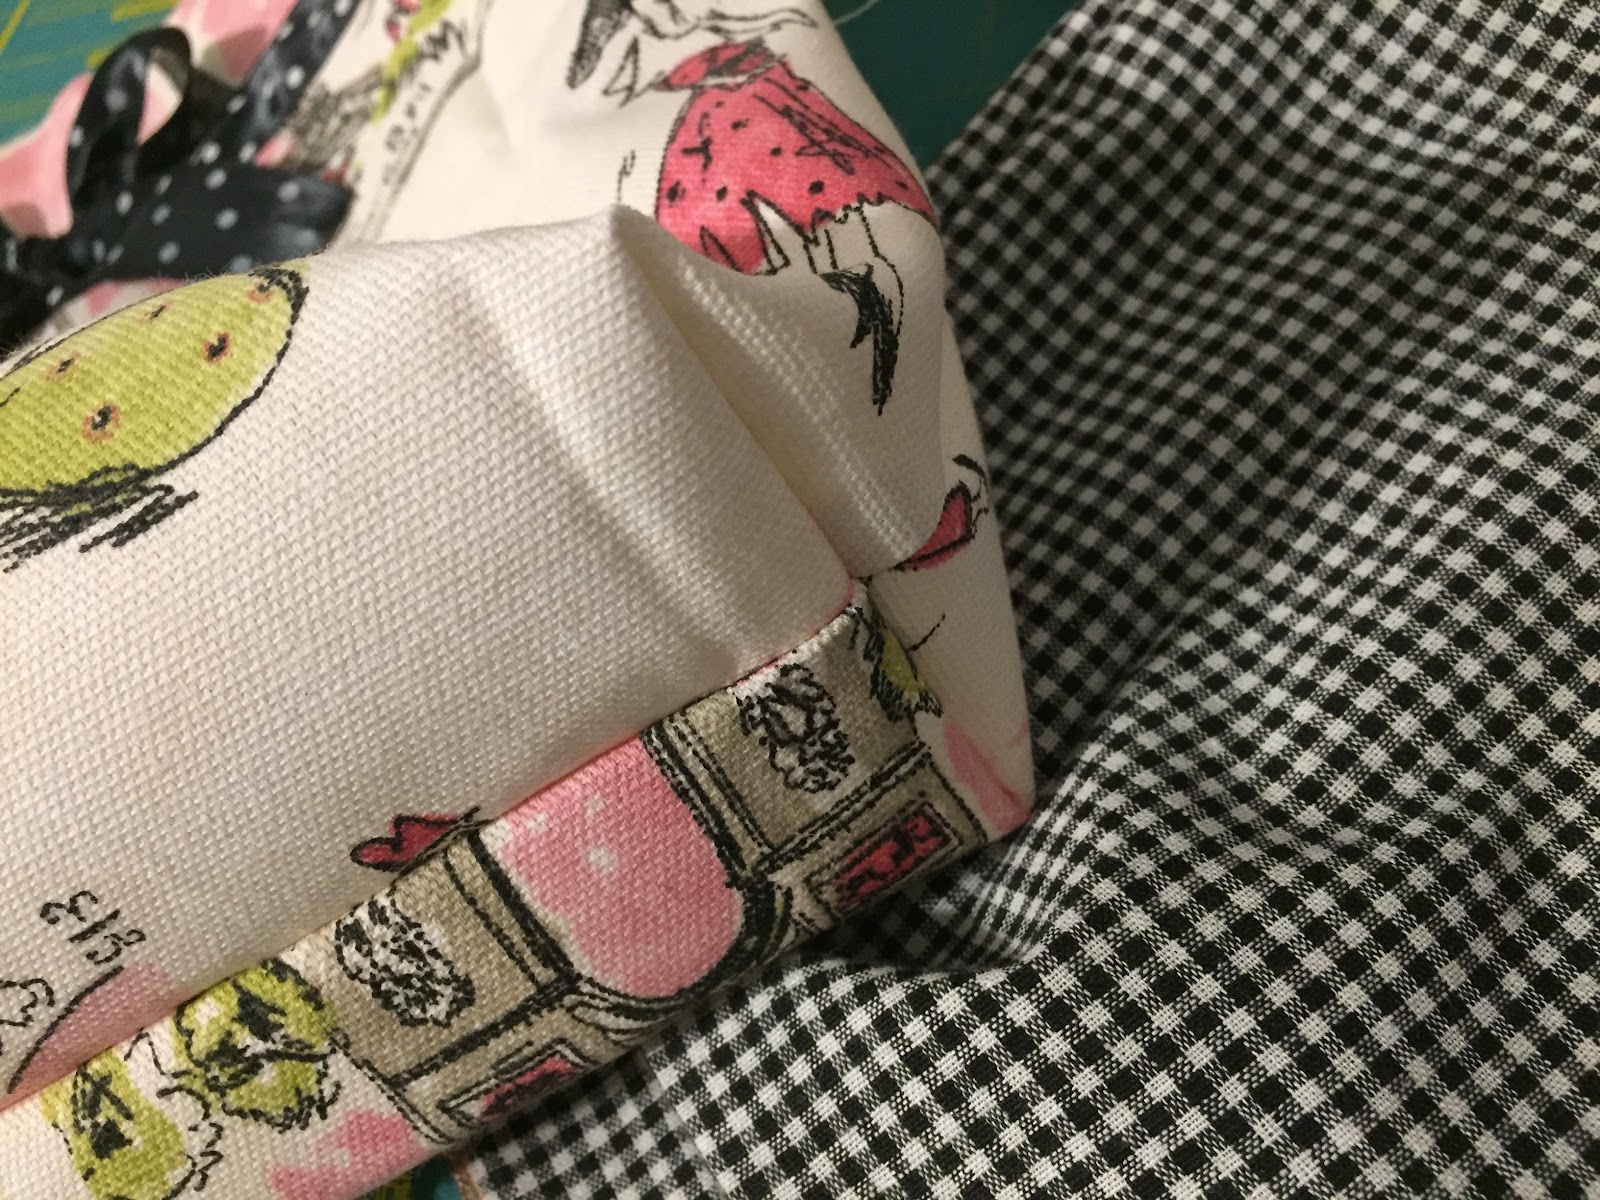
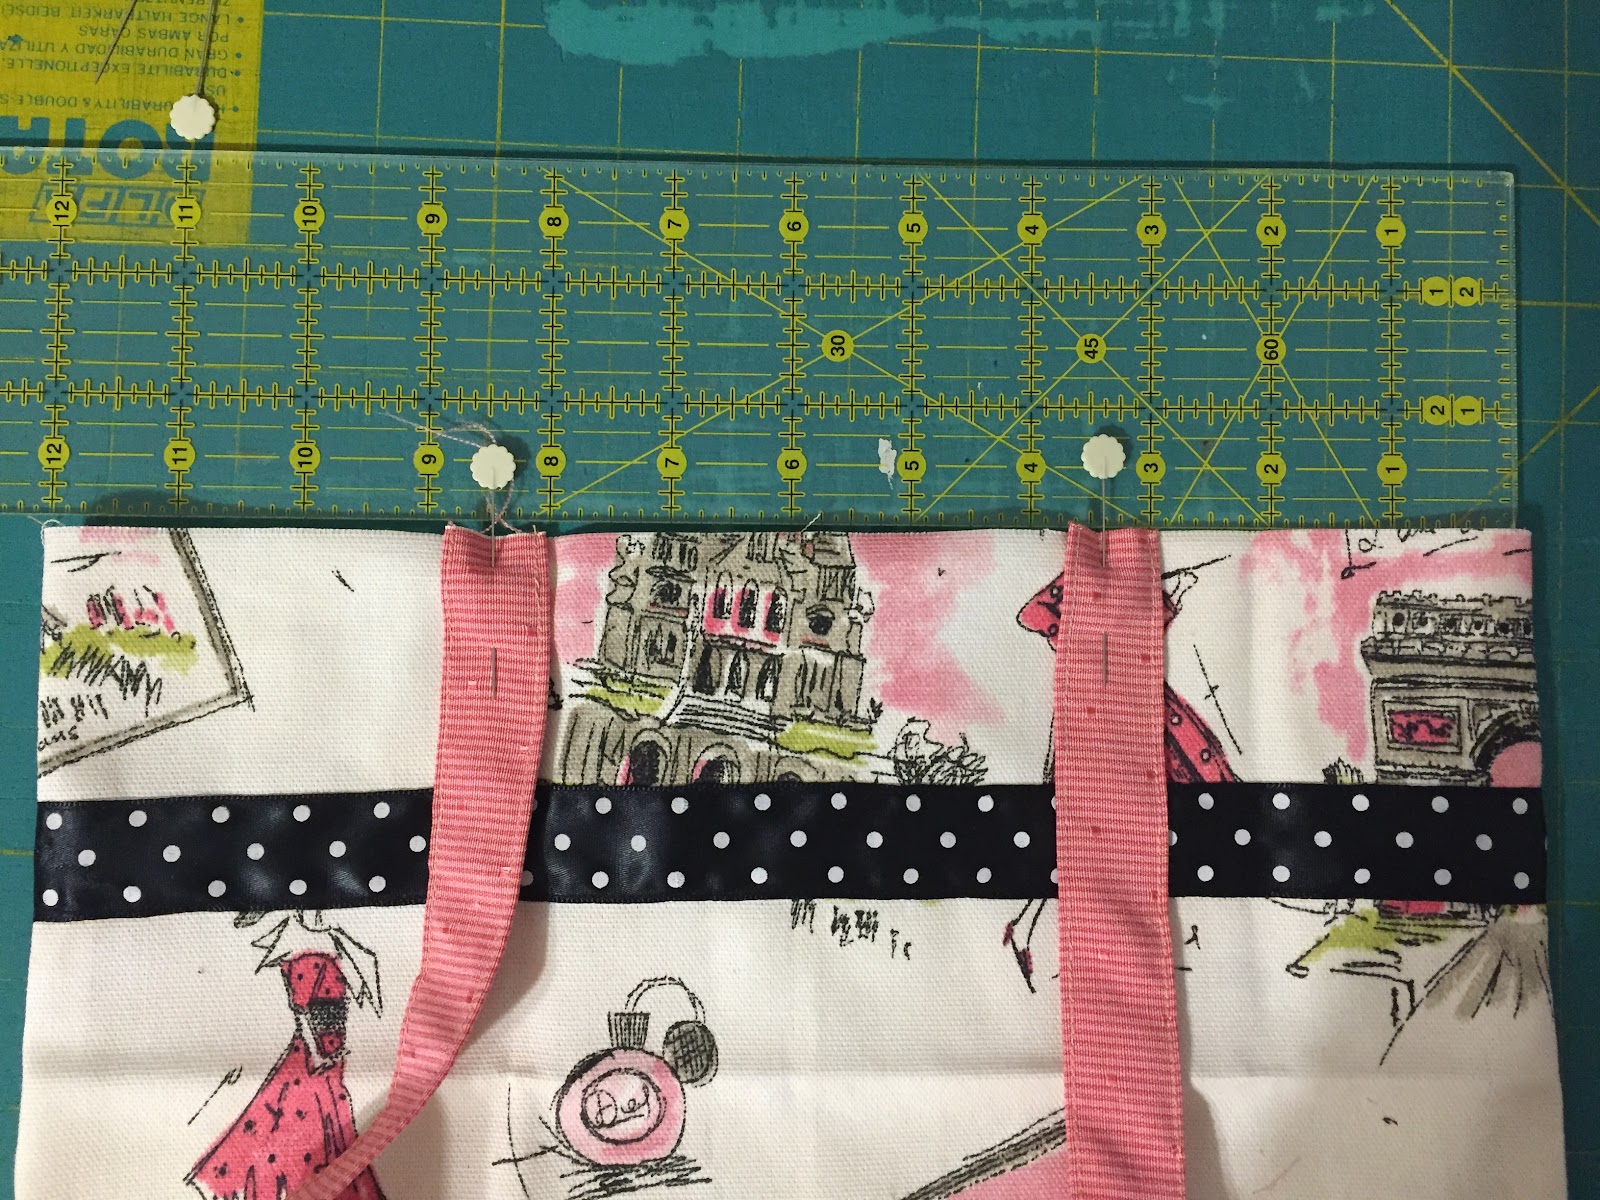
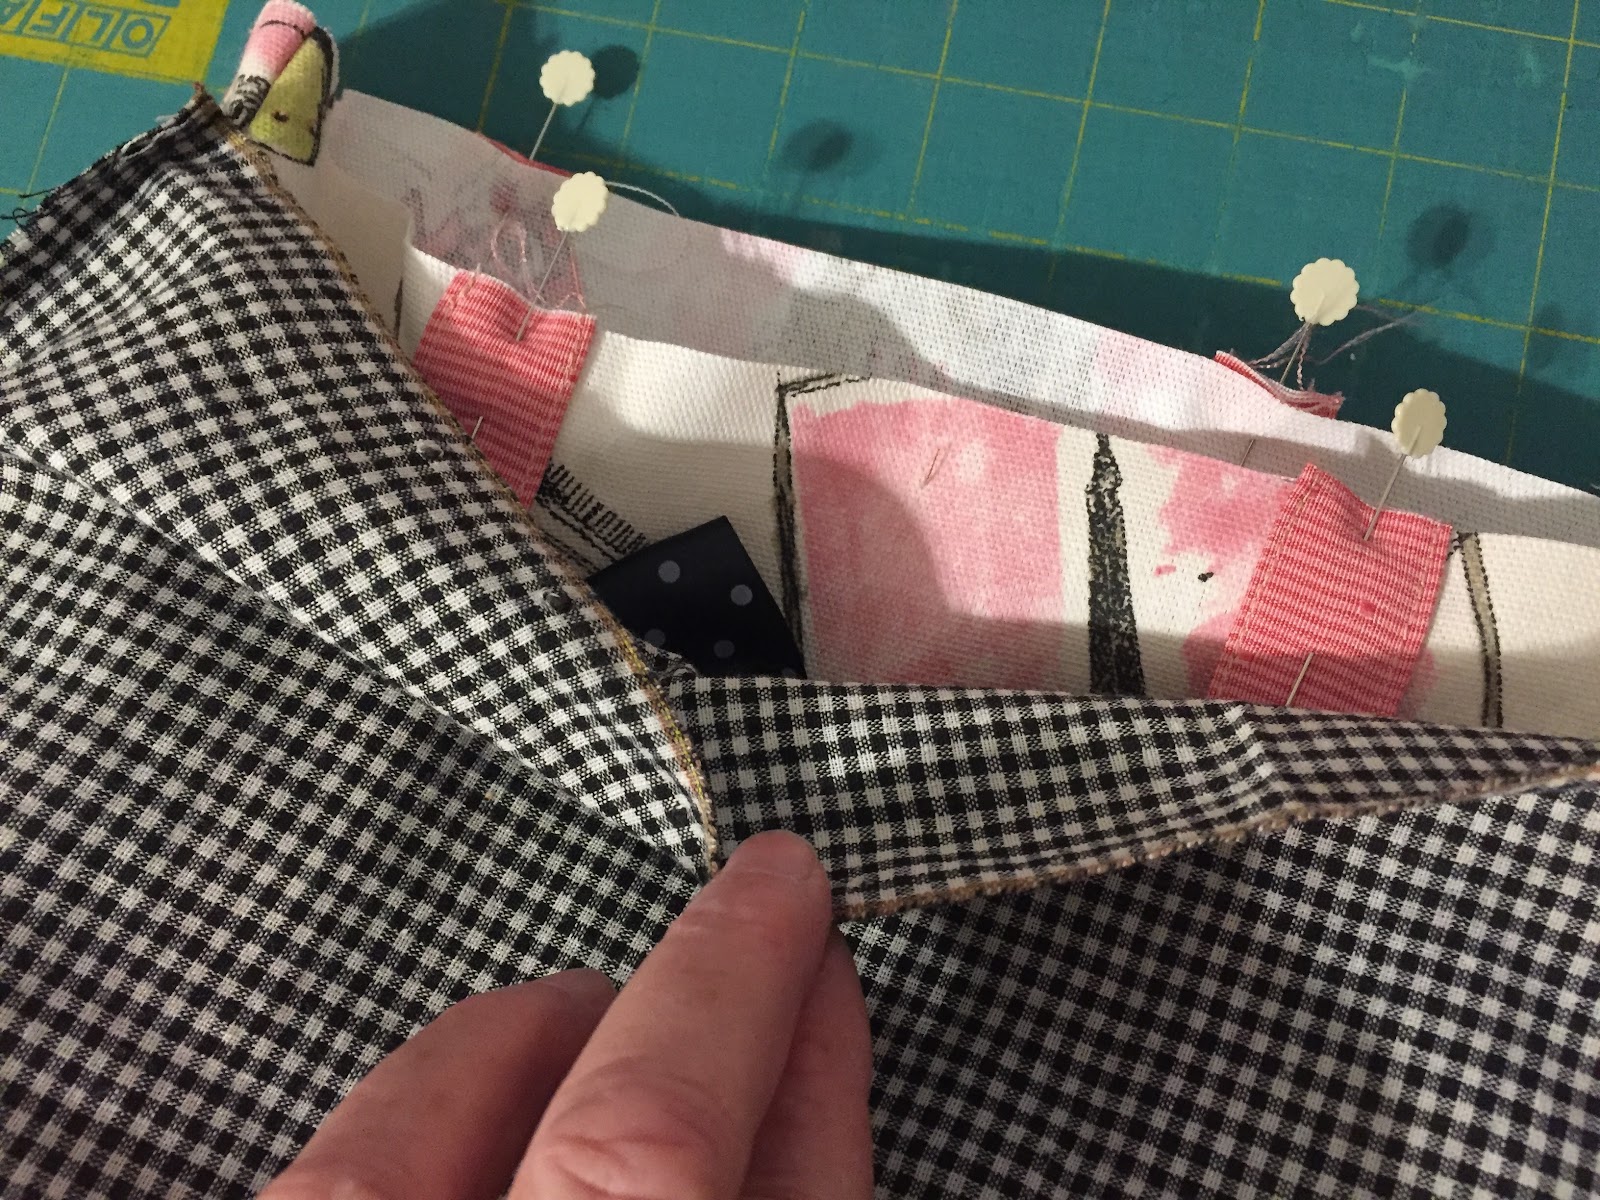
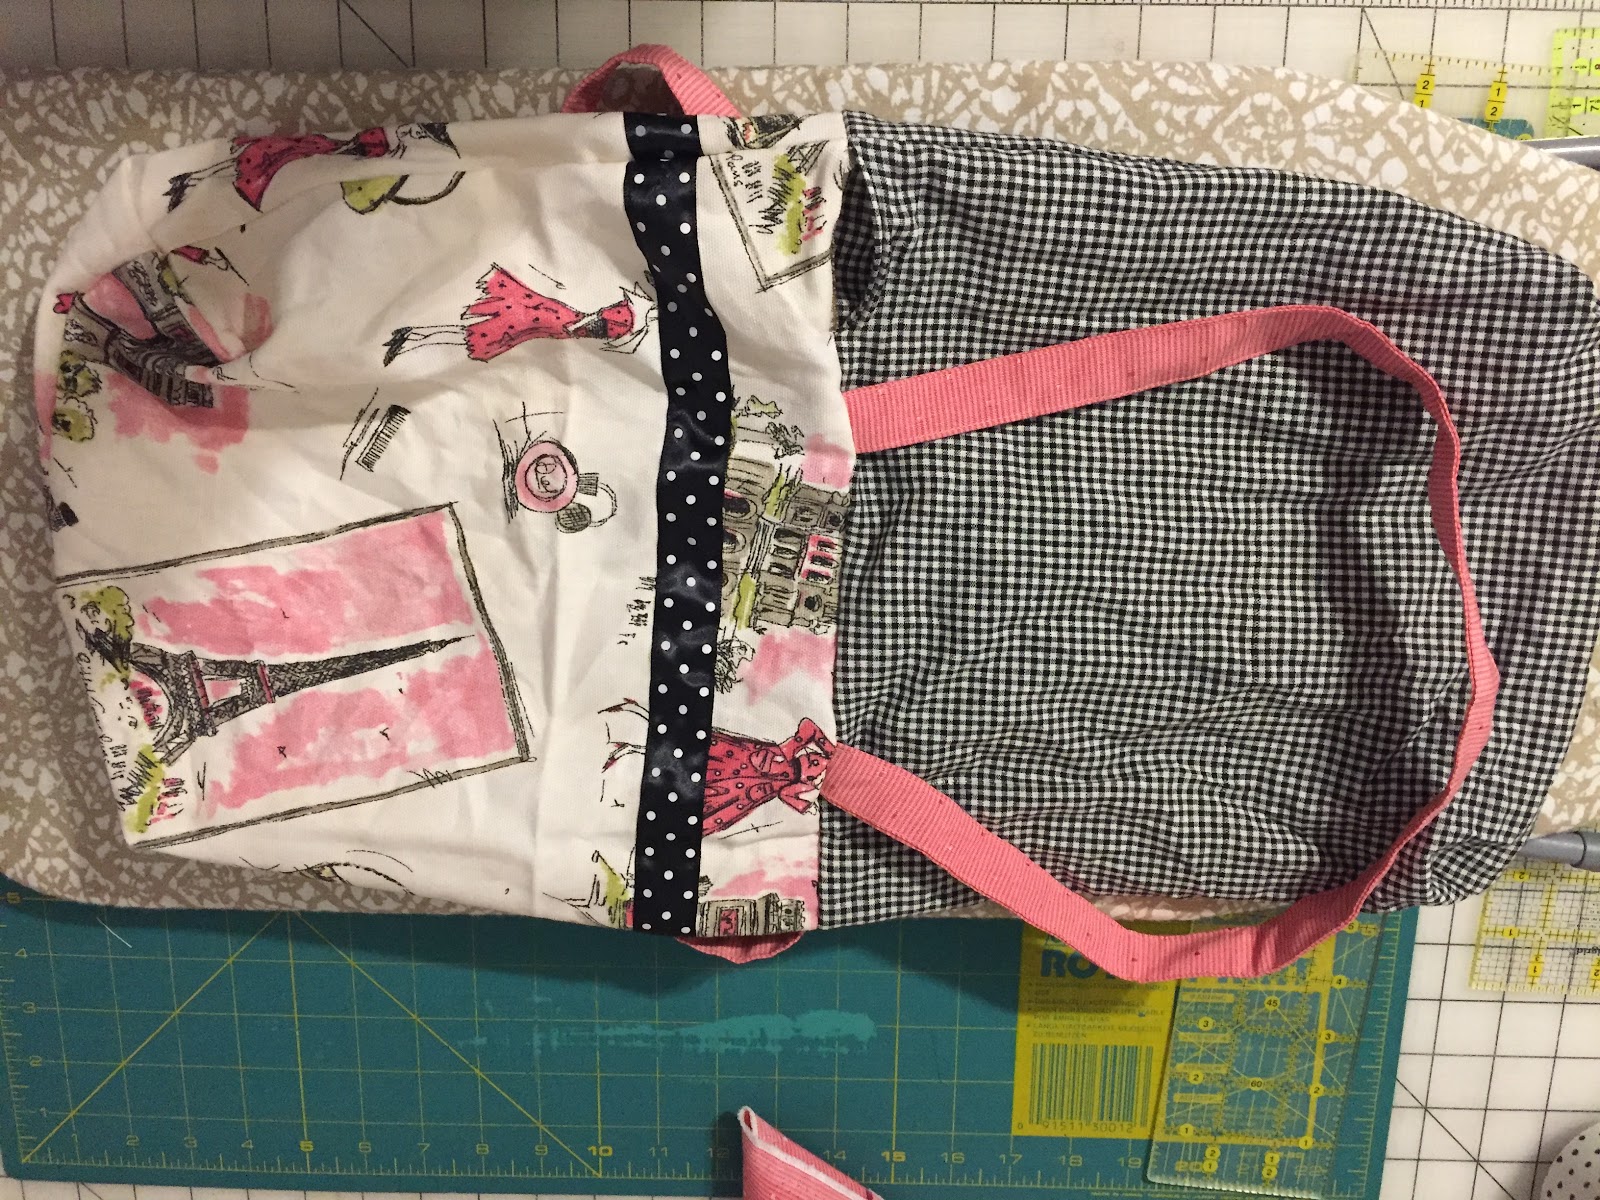
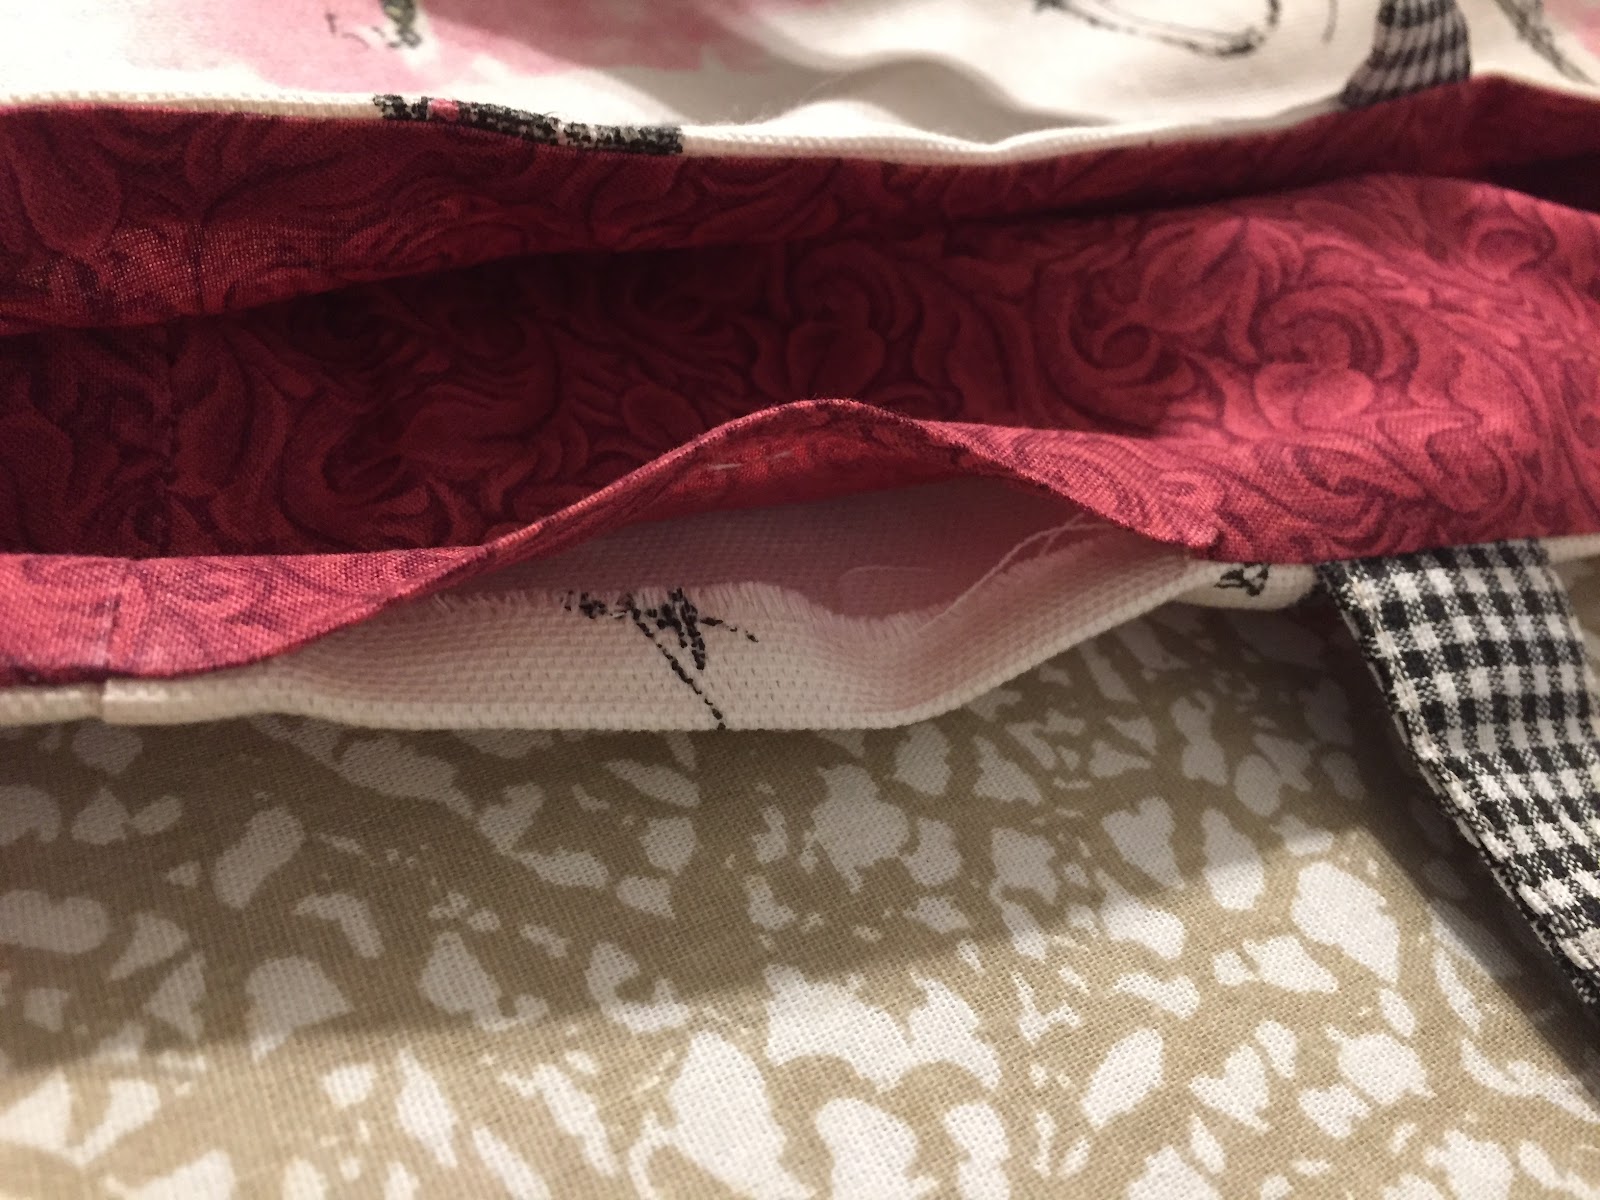
I also made 3 samples for the Sewing Class at the library.  This was the perfect project for a random decorator weight fabric with a Paris design.  2 Paris bags with lining.  1.39 yards  Sample bag lining.  0.24 yards  I need to figure out Etsy again, so I can try to sell these.  They are cute and fun to make, but I don't need them.
Large Paris bag with inside pocket

Small Paris bag
I worked on getting the sewing room back in order since when Little S comes back from Guatemala she comes with SIL & BIL also.  So I have to rearrange to accommodate guests, which means someone will sleep on the sewing room floor. 

Part of cleaning and organizing was putting away the giant addition to the stash that I had accumulated in the Spring, but had never been stored properly.  In order to make it all fit I went through and culled fabrics that I was unlikely to use.  Those will get donated.  4.62 yards.

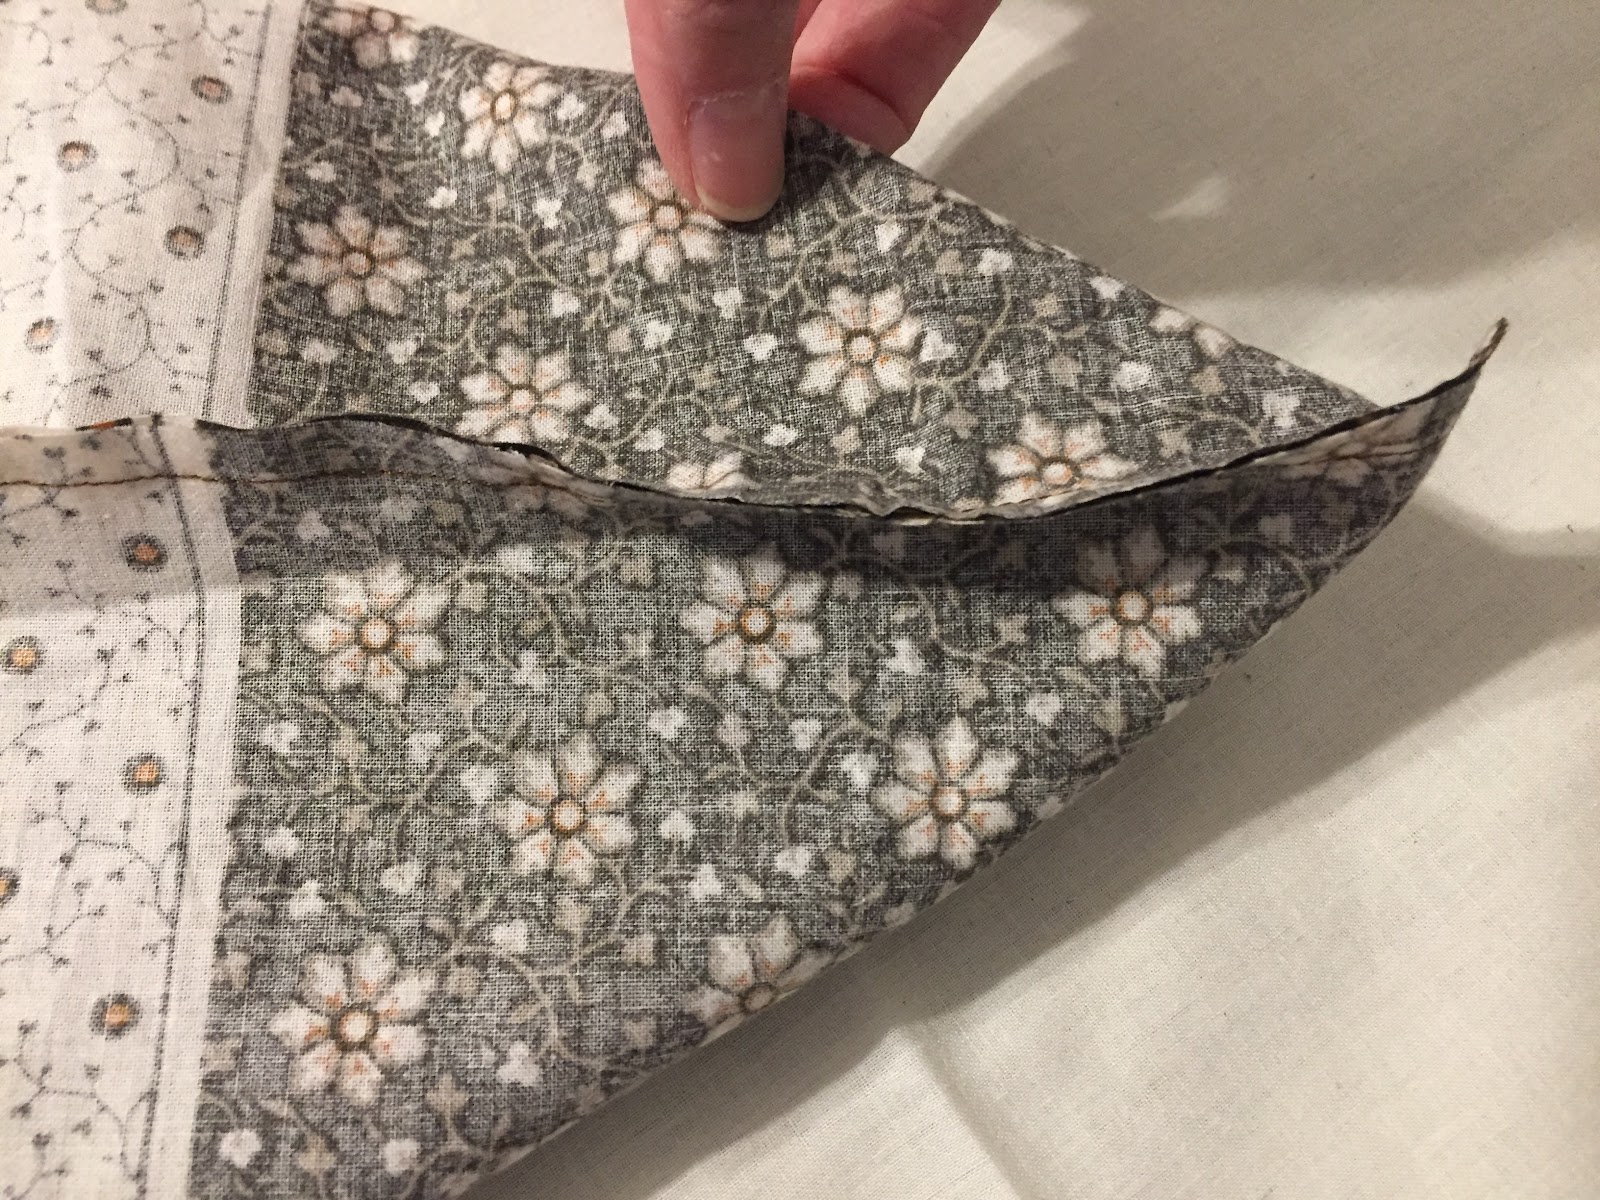
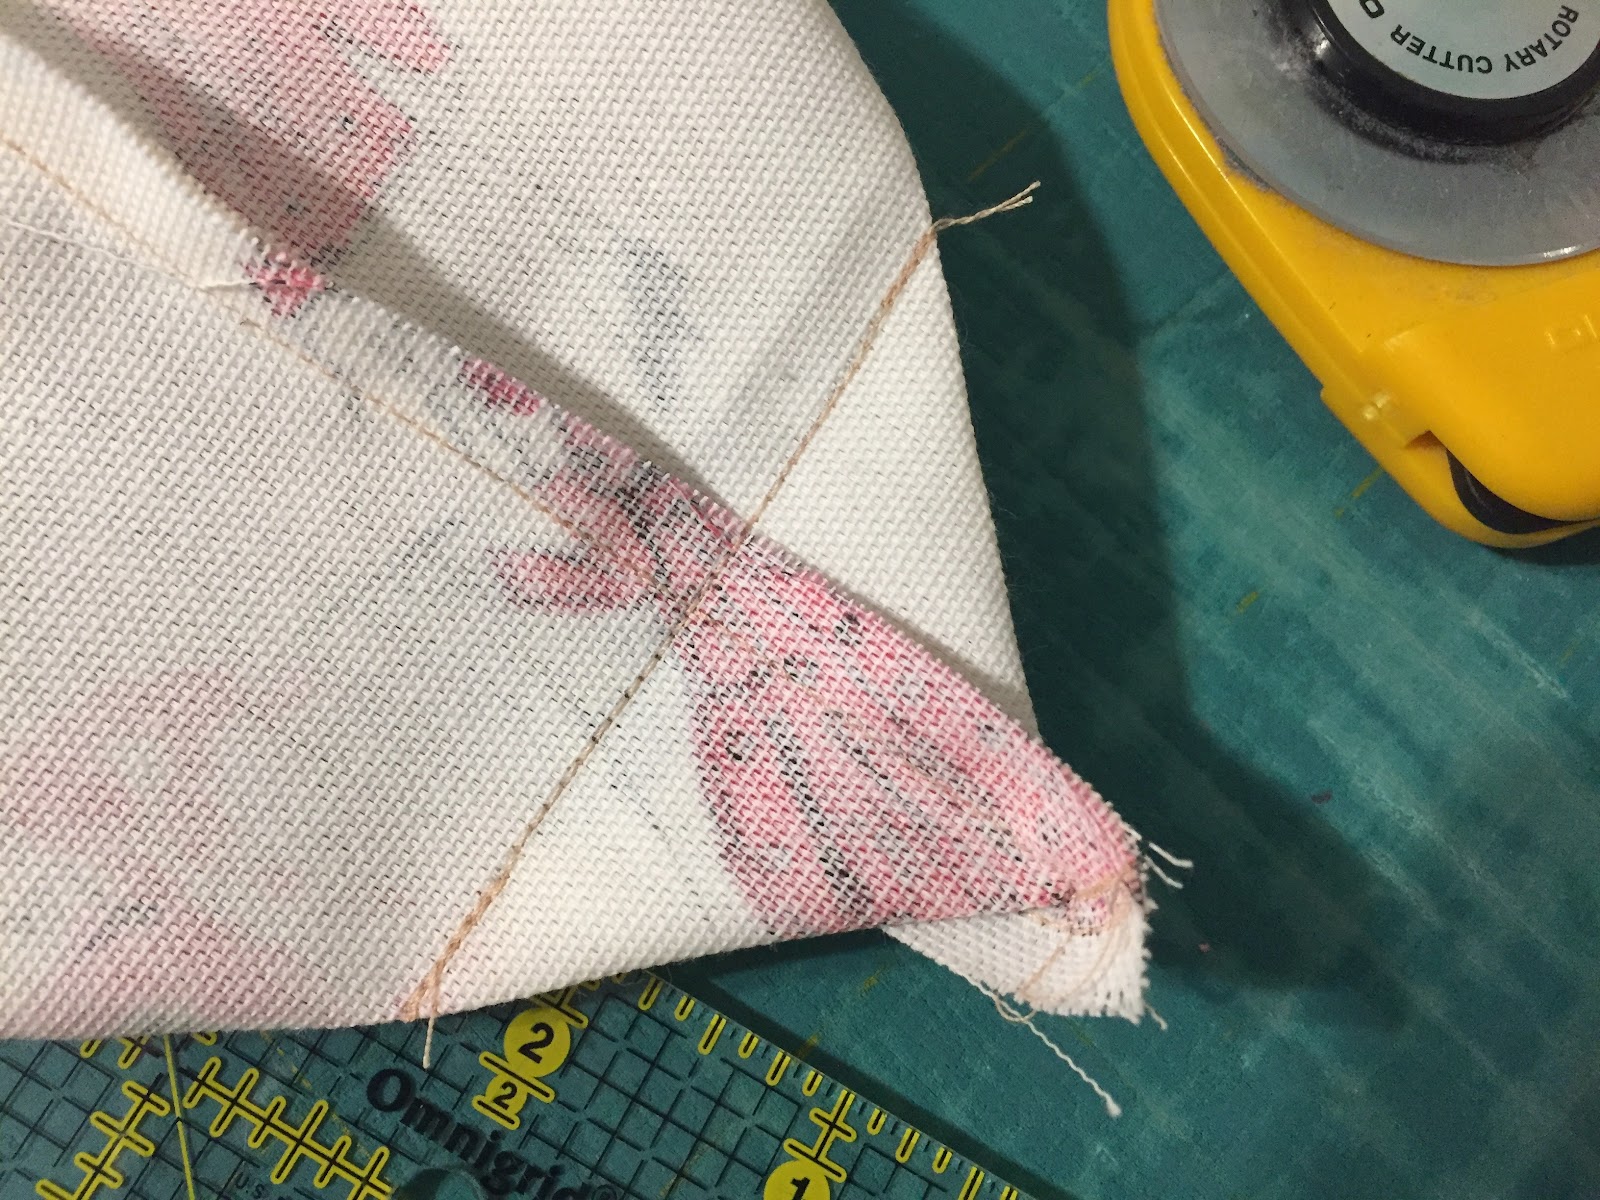
Funny thing though.  The fabrics to donate were in the box, but still in the house.  When I was writing the tutorial for the lined tote bag for the library class I needed to make another one to get some missing photos.  So I pulled a piece out of the donation stack and used it!  I did not second guess myself - the rest of the stack is still heading out!

Fabric Purchased Since Last Report - 0.45 yds
Fabric Purchased YTD - 70 yds

Free to Me Since Last Report - 5.62 yds
Free to Me YTD -  14.37 yds

Fabric Used Since Last Report - 7.5 yds
Fabric Used YTD - 54.96 yds

Fabric Movement -  29.41 yards stashed 

Total Spent - $42.75
Price/Yard YTD - $0.51 / yard

Just barely getting more out than came in.  That's okay.  

2019+15+minute+To+Stitch_2-001.jpg (1600×1600)
Kate from Life in Pieces has challenged us to try for 15 minutes each day of stitching.  With the trip to Guatemala I had to think about how to make sure I got in stitching time.

I took along my cross-stitch because I always take it on a trip to keep me busy during travel time and sitting around talking time.  That worked well once again.  Little S is hopeful that one day I will actually finish it since it is her "birth announcement" cross-stitch.  I am up to the back stitching, so the end is in sight.
Layover in Ft. Lauderdale
I got to sew with my MIL putting together the pink Carpenter Star that got set aside in December.
Together at last
I also mended my niece's sweater that the dog had chewed on.

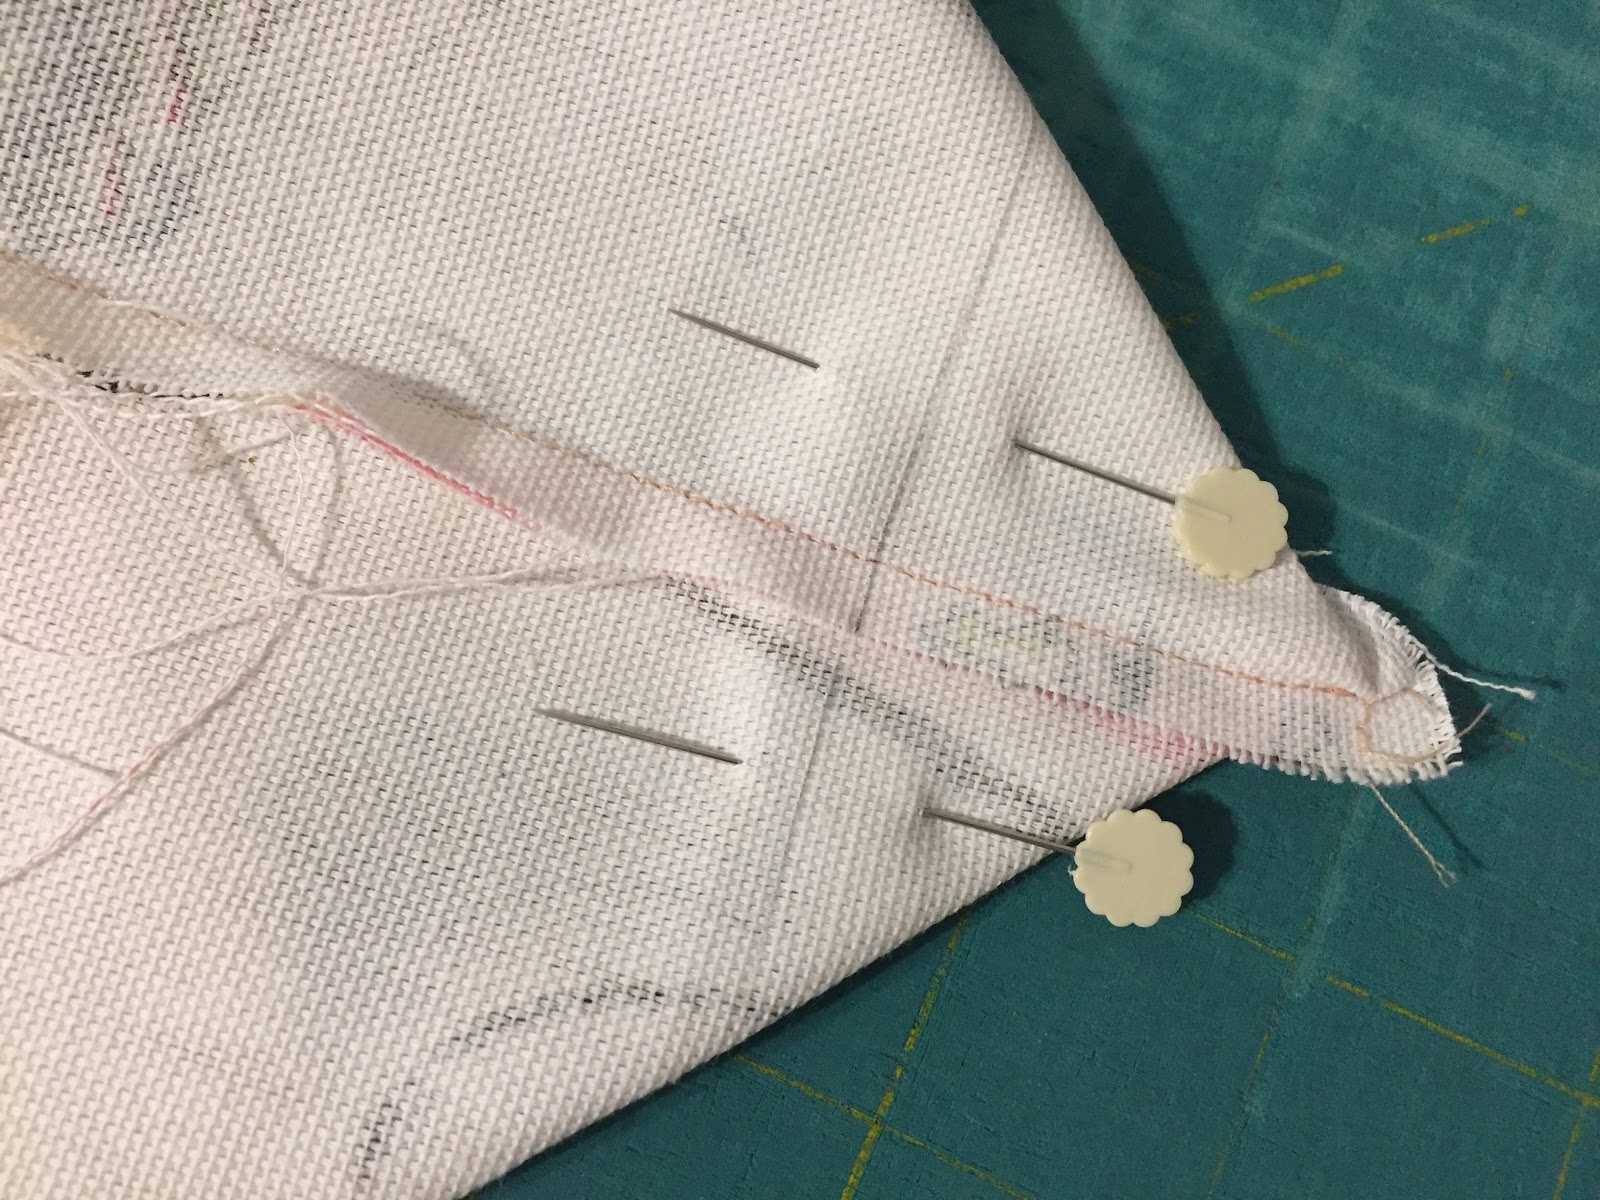
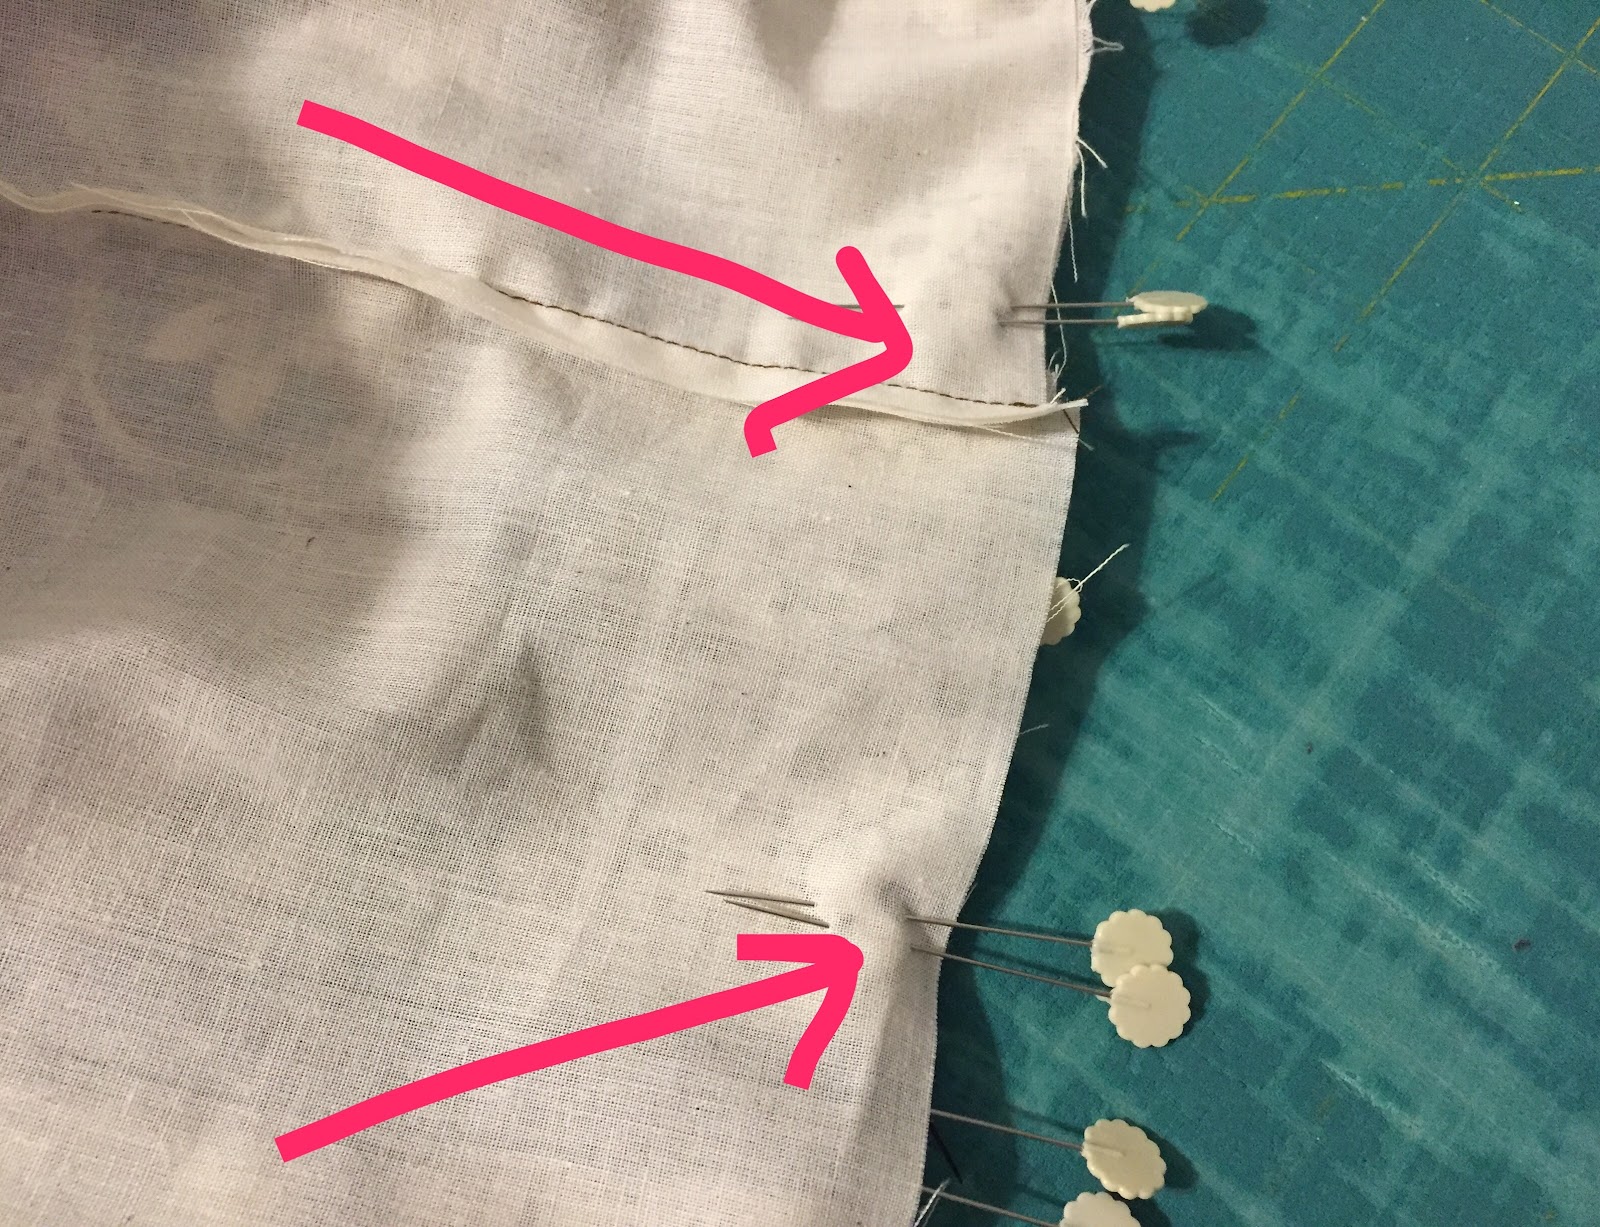
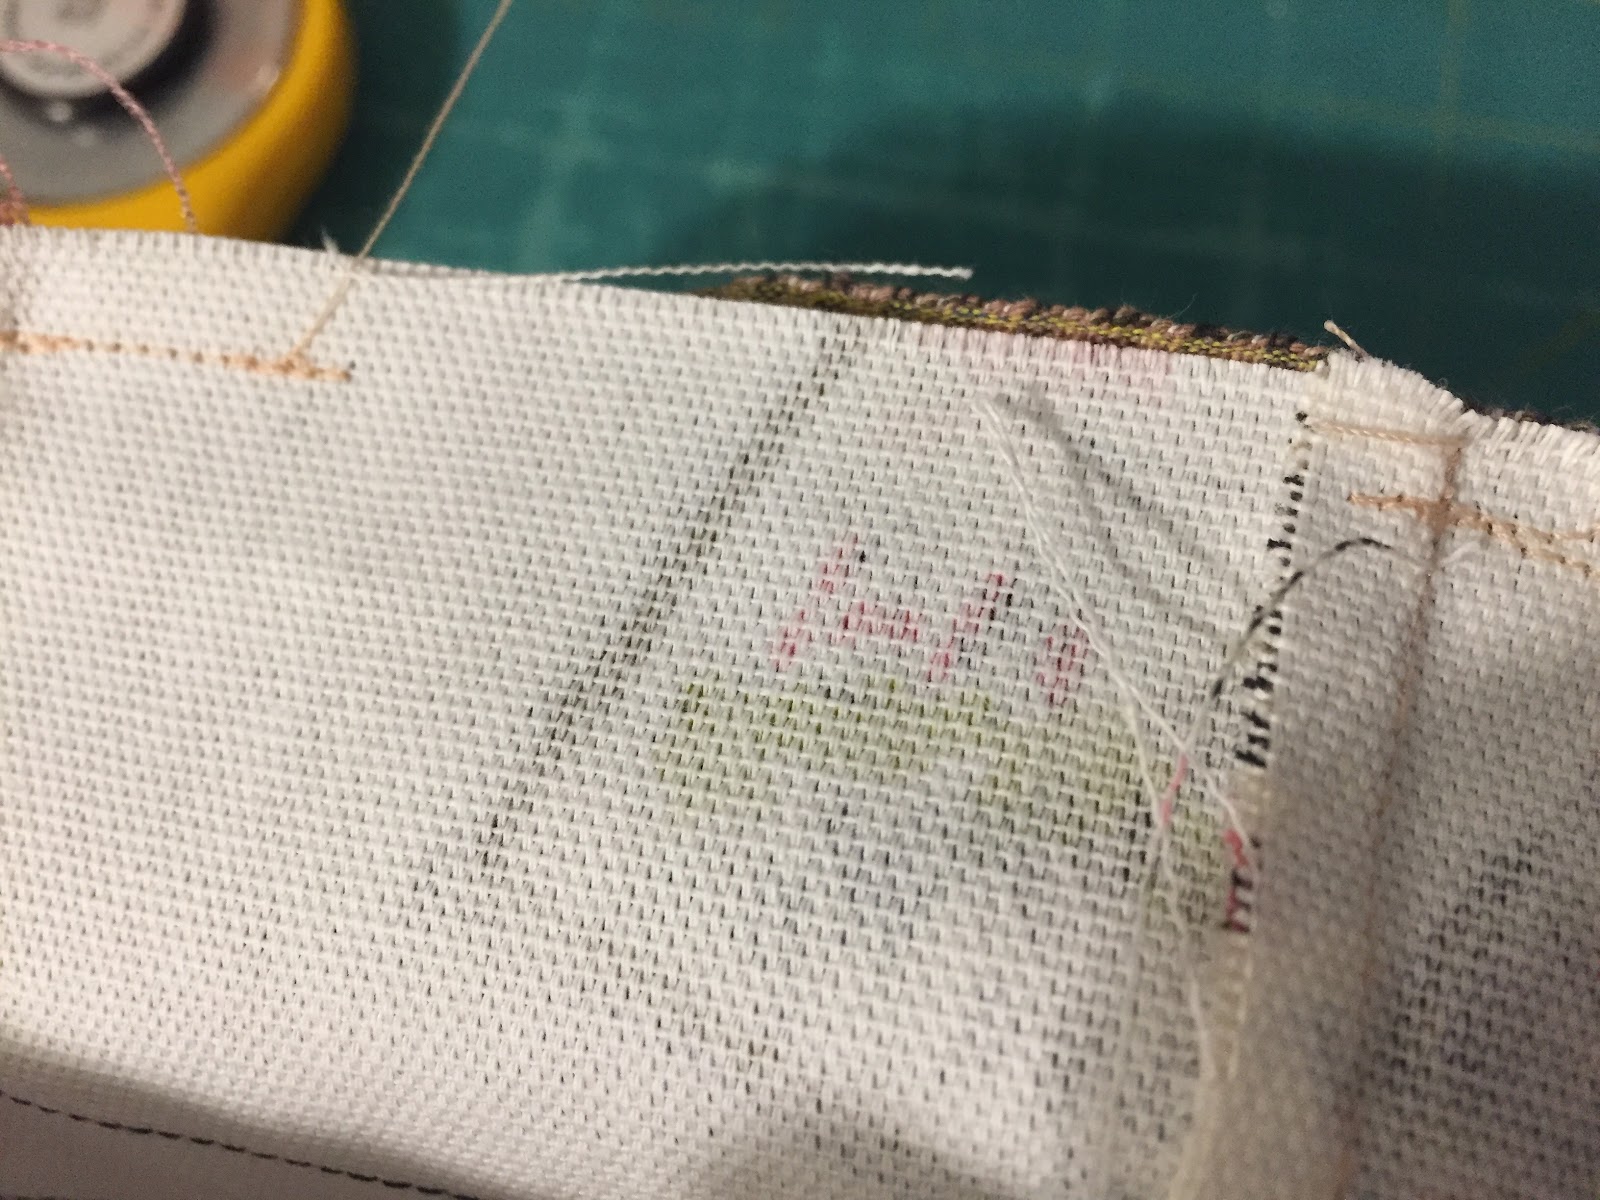
Unfortunately I had my own mending on my way back when the side split on the freebie promotional drawstring bag I was using (for once I was traveling light) as I was going through security in the Guatemala airport at the very beginning of a long travel day.  Aarrrgh.  Since I had my cross-stitch project in it I just used that thread to fix the bag.  No problem!
Good enough to get me through the rest of the day.
So I only missed the Sunday because it was a very busy day with church, cooking, and a family outing.  A very good excuse for not sewing.

My numbers might seem a little off, but that is because I didn't start the challenge until May.

Days spent on sewing related tasks since last report: 13/14
Days spent on sewing related tasks this month: 12/13
Days spent on sewing related tasks this year: 69/74
Percentage of time on task: 93%

Linking up to QuiltPaintCreate and Life in Pieces to stay accountable.

Tuesday, July 2, 2019

Tasty Tuesday - Quiche

A co-worker brought mini quiches to an event this Spring and they were delicious.  The way she described it didn't sound too hard, so I thought I should try sometime.  We had leftover ham and assorted raw veggies after our family dinner in early June.  It seemed like the perfect time to try a quiche.
I see that smile!
Thankfully I had Little S to help me.  She made the crust while I prepped the filling.
Ham only, no veggies for Little S's personalized quiche!
Ham, peppers, and onions for the rest of us.
It was pretty labor intensive for a summer dinner, but since we ended up with another meal out of it that I can freeze I can accept that.
Lots of cheese.
I should have hidden some veggies under all that cheese!
Melted cheese!
Hot and delicious.
I think next time I would make a crustless quiche since that was maybe the hardest part.  And figure out a way that the cheese was more mixed all throughout not just melted on the top.  Maybe mix all the ingredients first and then pour, rather than the layers that this particular recipe called for. 

So I'm not going to give a recipe until I find one that I really like better, but overall this was a good experiment.


Sunday, June 30, 2019

Halfway through 2019

It is hard to believe that we are already at the halfway point of 2019.

Fabric In:  Different errands took me near my favorite thrift store several times this week.  Fortunately there was no quilting cotton to tempt me. 

Fabric Out: Lots out again.   I used up ALL the random brown precut squares.  The smaller 4.5" brown plaid squares went into this diagonal layout with additional squares cut from the stash to liven it up a bit.  1.46 yards

The larger 5.5" brown squares had me stumped for a bit since there were only 12 prints and 2 solids.  Then I found a scrap of brown and bright striped fabric in the stash.  That inspired me to add the brights for another D9P.  The hardest part was finding a fabric that would match how the brown stripes and gingham squares "read" light in the overall look.

I think it took me longer to find that particular fabric than to make the whole quilt.  I made the final border as large as I could with the little bit of the inspirational striped fabric that there was.  I never would have thought to put these colors together, but I really like the finished look.  1 yard for top


Backing & binding for the peach & aqua D9P that will go to my niece's baby girl.  2.14 yards

Backing & binding for the scrappy triangle quilt.  This one will go to Jack's Basket.  1.74 yards
And I squeezed in one more top.  A Bricks & Stepping Stones which is a free pattern from Bonnie Hunter.  I did mine in a transportation theme.  Love it.
2.12 yards


Fabric Purchased Since Last Report - 0 yds
Fabric Purchased YTD - 69.55 yds

Free to Me Since Last Report - 0 yds
Free to Me YTD -  8.75 yds

Fabric Used Since Last Report - 8.46 yds
Fabric Used YTD - 47.46 yds

Fabric Movement -  30.84 yards stashed 

Total Spent - $42.50
Price/Yard YTD - $0.54 / yard

Yet another good week.  Slowly working away at the stash.  I really thought on Sunday night that my sewing streak was over after using up the brown squares.  For once I was glad to walk away from the sewing machine.  But when I woke on Monday morning with a migraine but couldn't stop thinking about the math of a Bricks & Stepping Stones quilt I knew I was still in the game!

2019+15+minute+To+Stitch_2-001.jpg (1600×1600)
Kate from Life in Pieces has challenged us to try for 15 minutes each day of stitching. My summer schedule gives me a lot of extra time to sew so I am taking advantage and really enjoying it.  My numbers might seem a little off, but that is because I didn't start the challenge until May.

Days spent on sewing related tasks this week: 7/7
Days spent on sewing related tasks this month: 29/29
Days spent on sewing related tasks this year: 56/60
Percentage of time on task: 93%

Linking up to QuiltPaintCreate and Life in Pieces to stay accountable.