Lined Tote Bag
½ yard focus fabric
½ yard lining fabric
1 ½ yard 1” grosgrain ribbon or webbing for handles
coordinating thread
 |
| Cut focus fabric & lining. |
1. Cut 2 16” x 14” (or whatever size you desire) rectangles from the focus fabric.
2. Cut 2 16” x 14” (or whatever size you desire) rectangles from the lining fabric.
 |
| Sew side seam. Decorate if desired. |
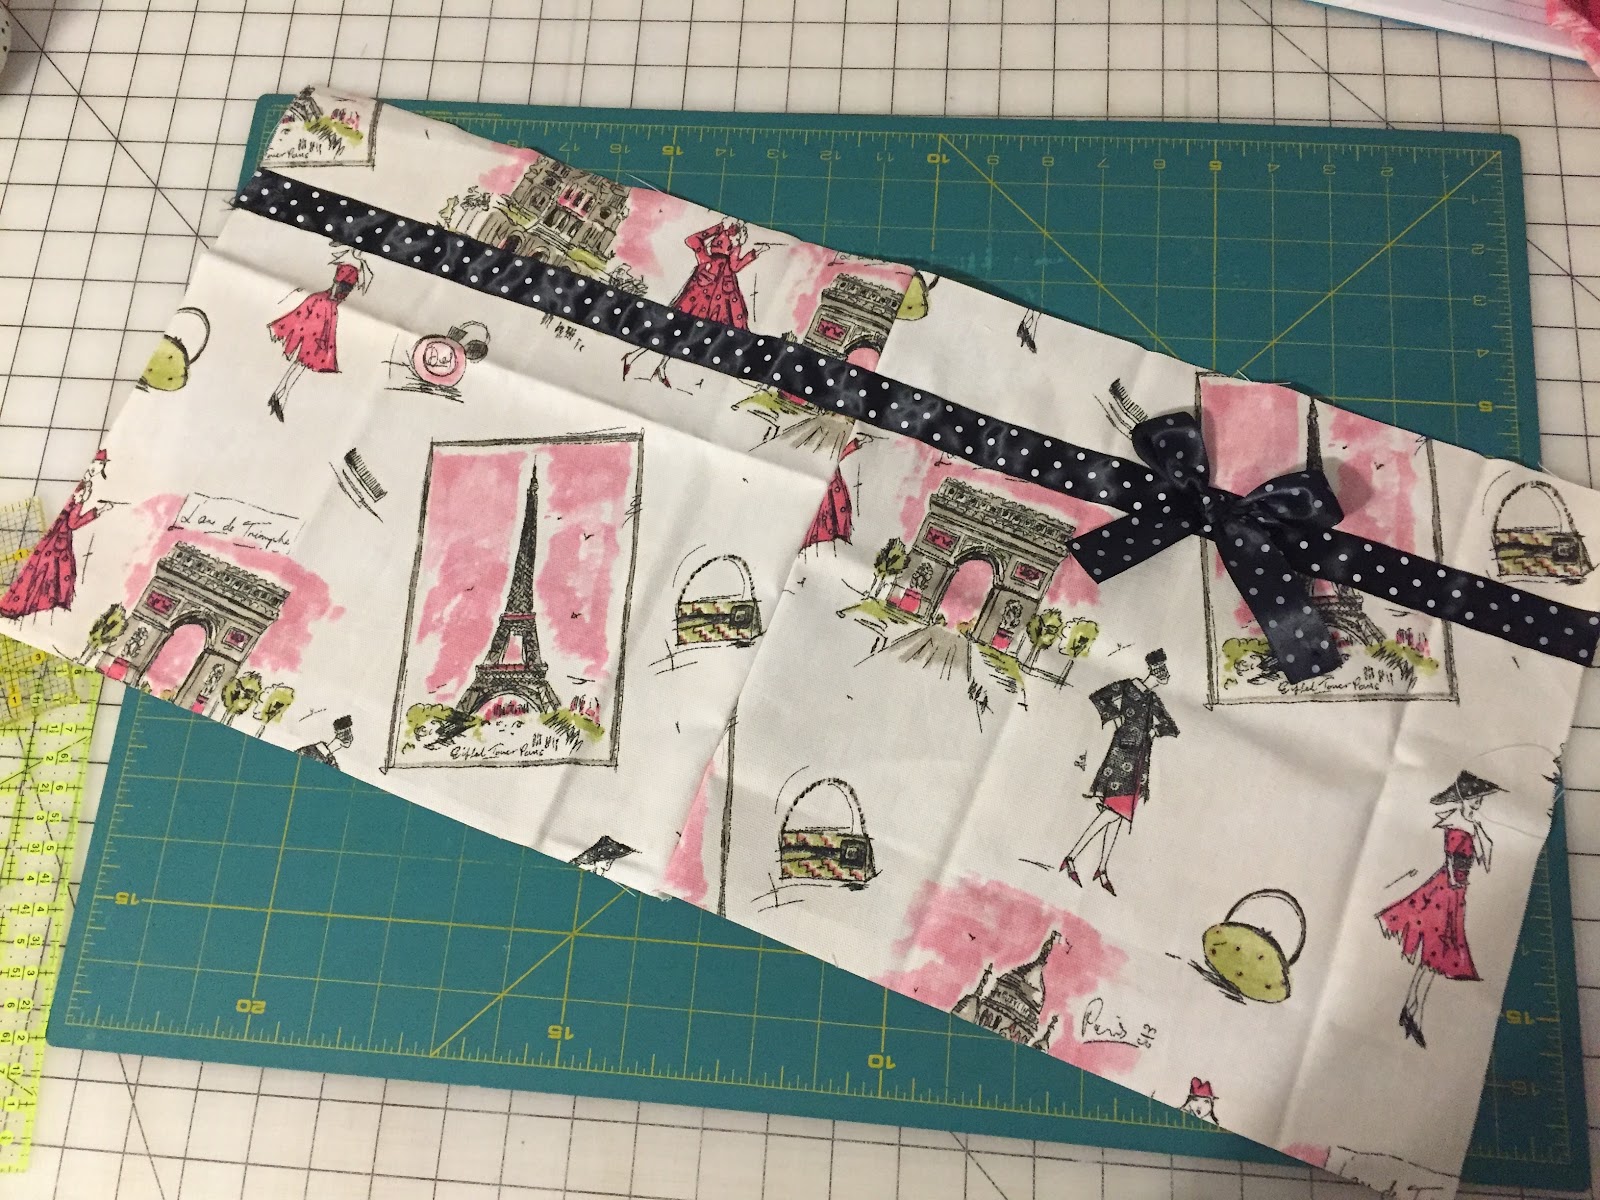
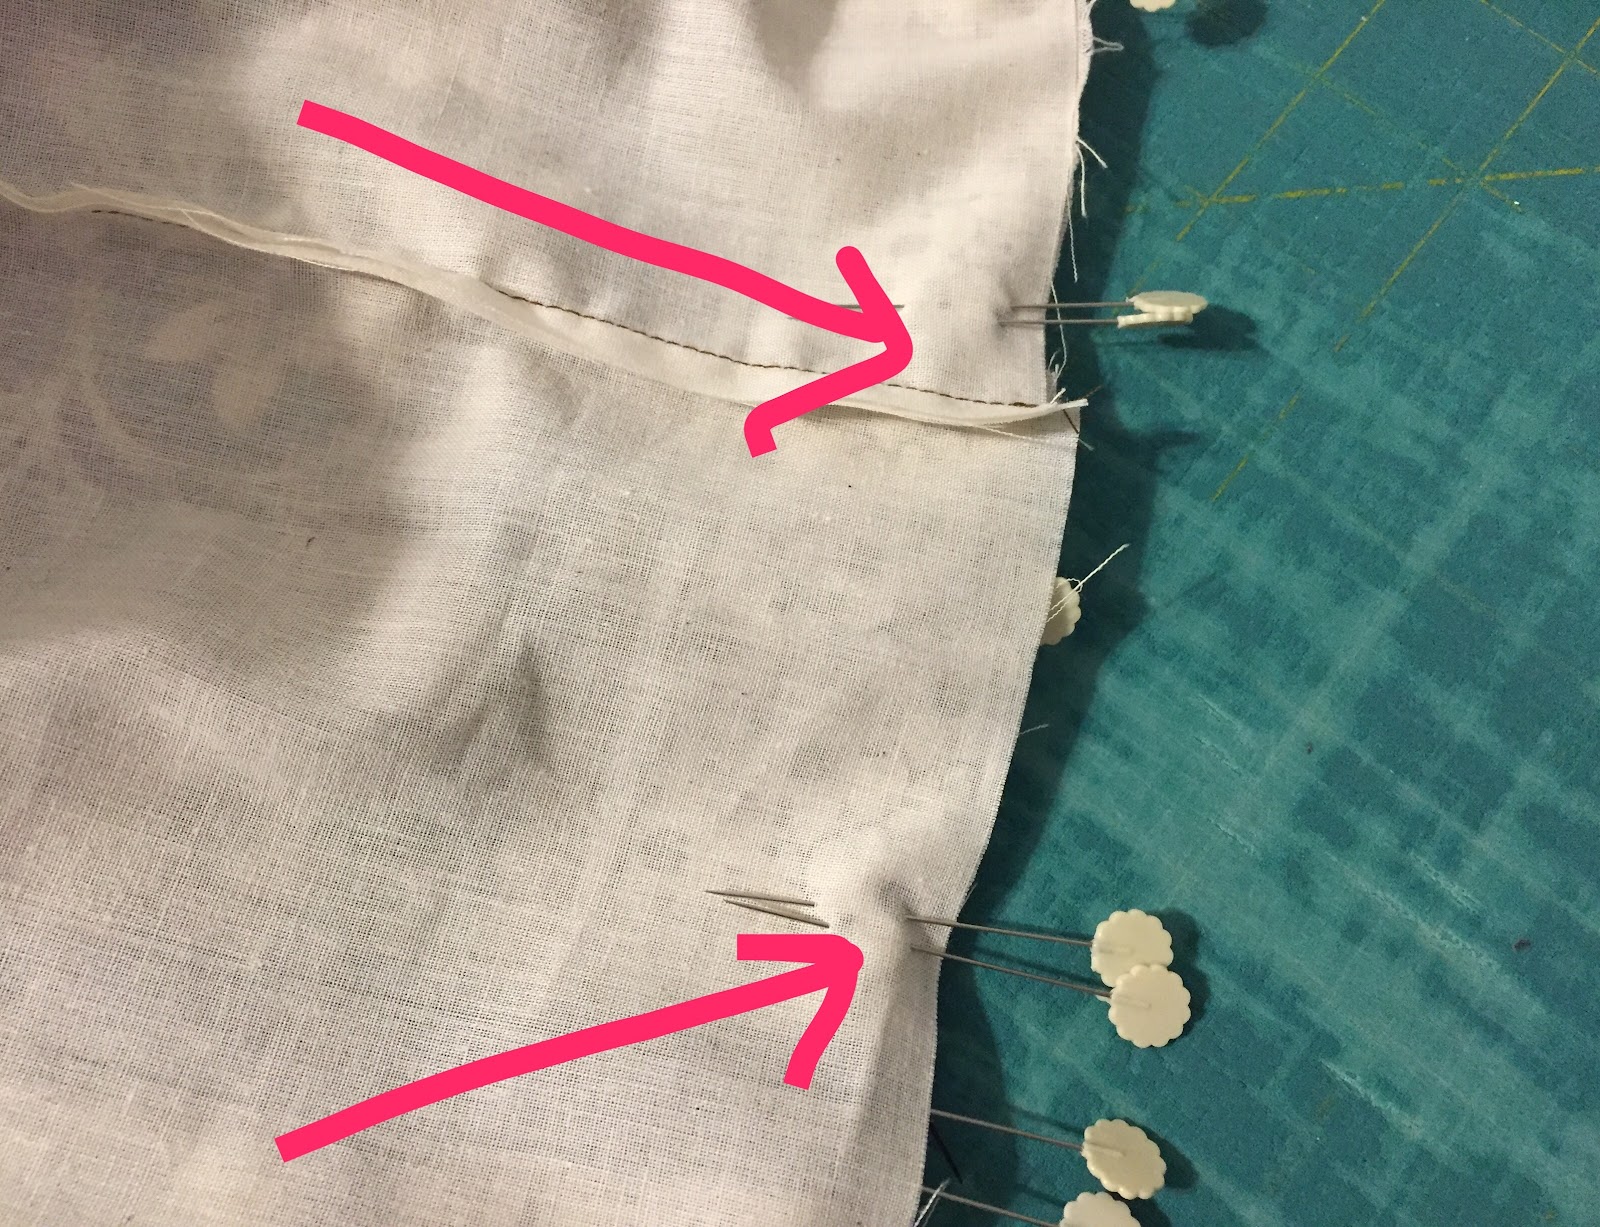
3. Place focus fabric rectangles right sides together. Sew 1 short side.
Open and press. If you are adding decoration or pockets now is the time!
4. Place lining fabric rectangles right sides together. Sew 1 short side.
Open and press. If you are adding inside pockets now is the time.
 |
| Sew remaining 2 sides. |
short side (side).
6. Fold lining panel in half and sew 1 long side (bottom) and the remaining
short side (side).
Three sides are now sewn.
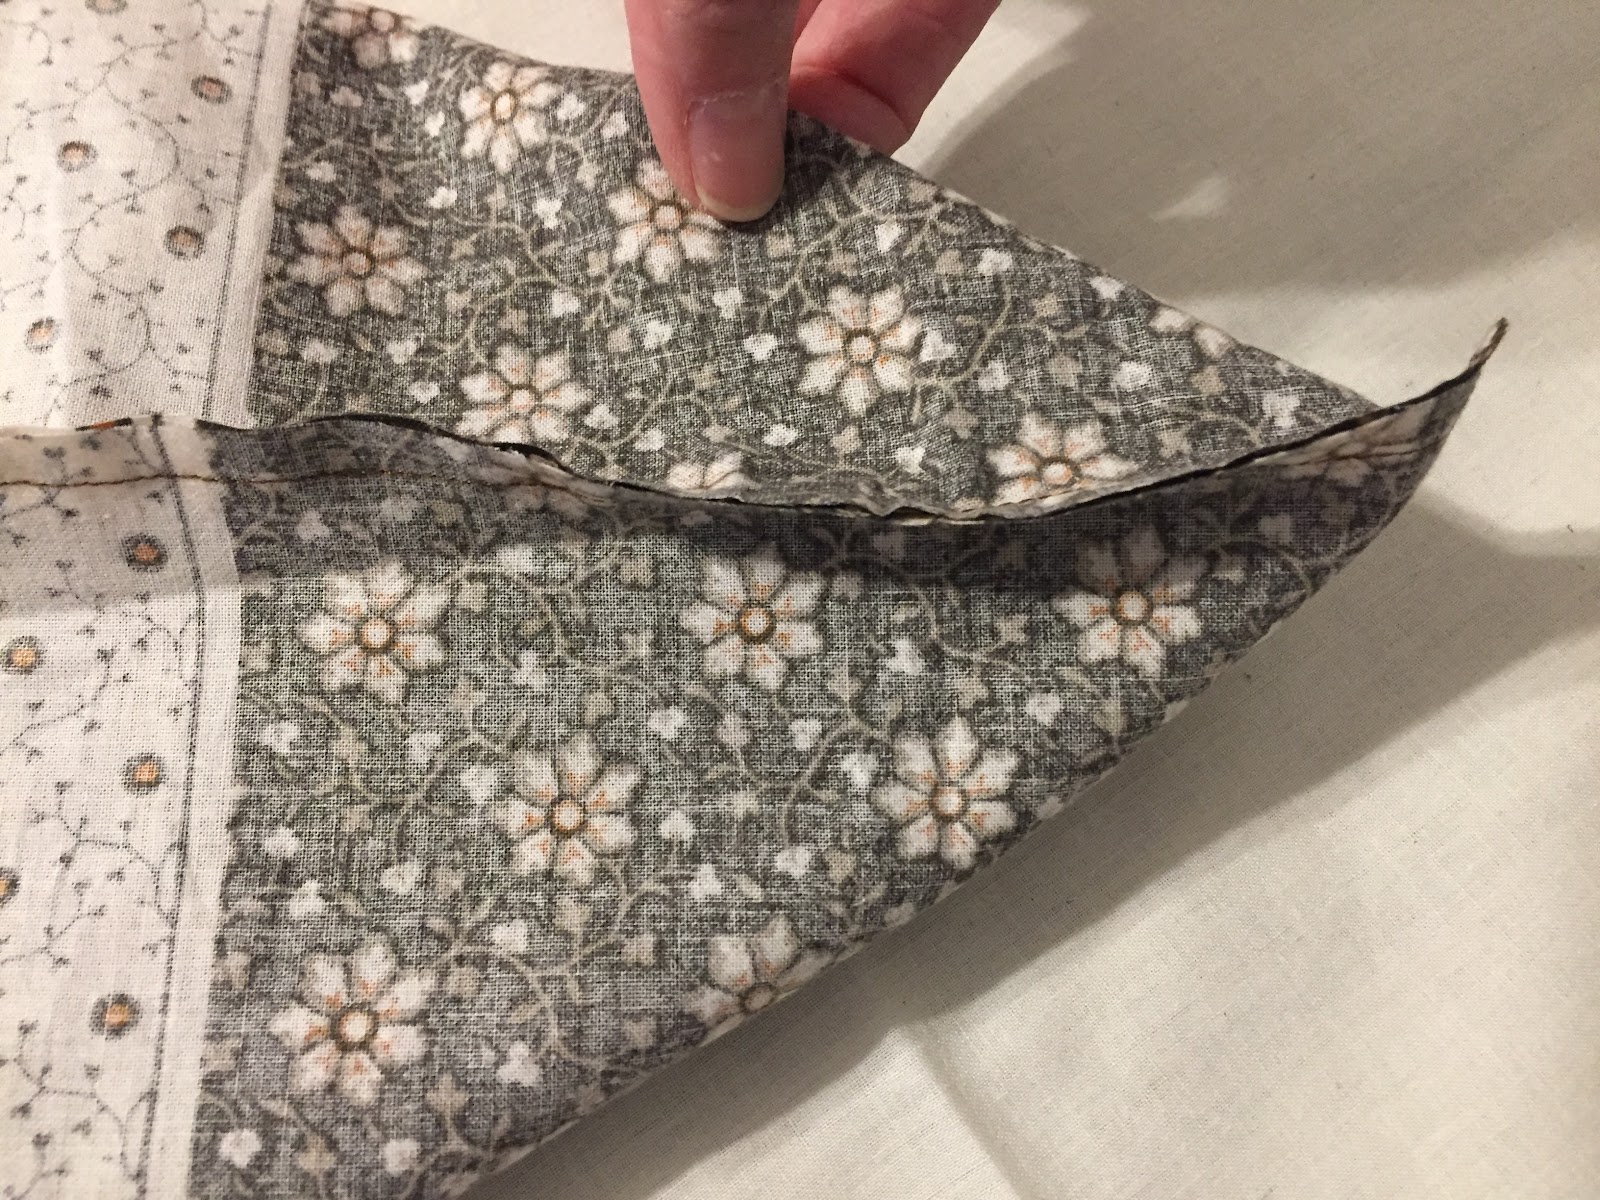 |
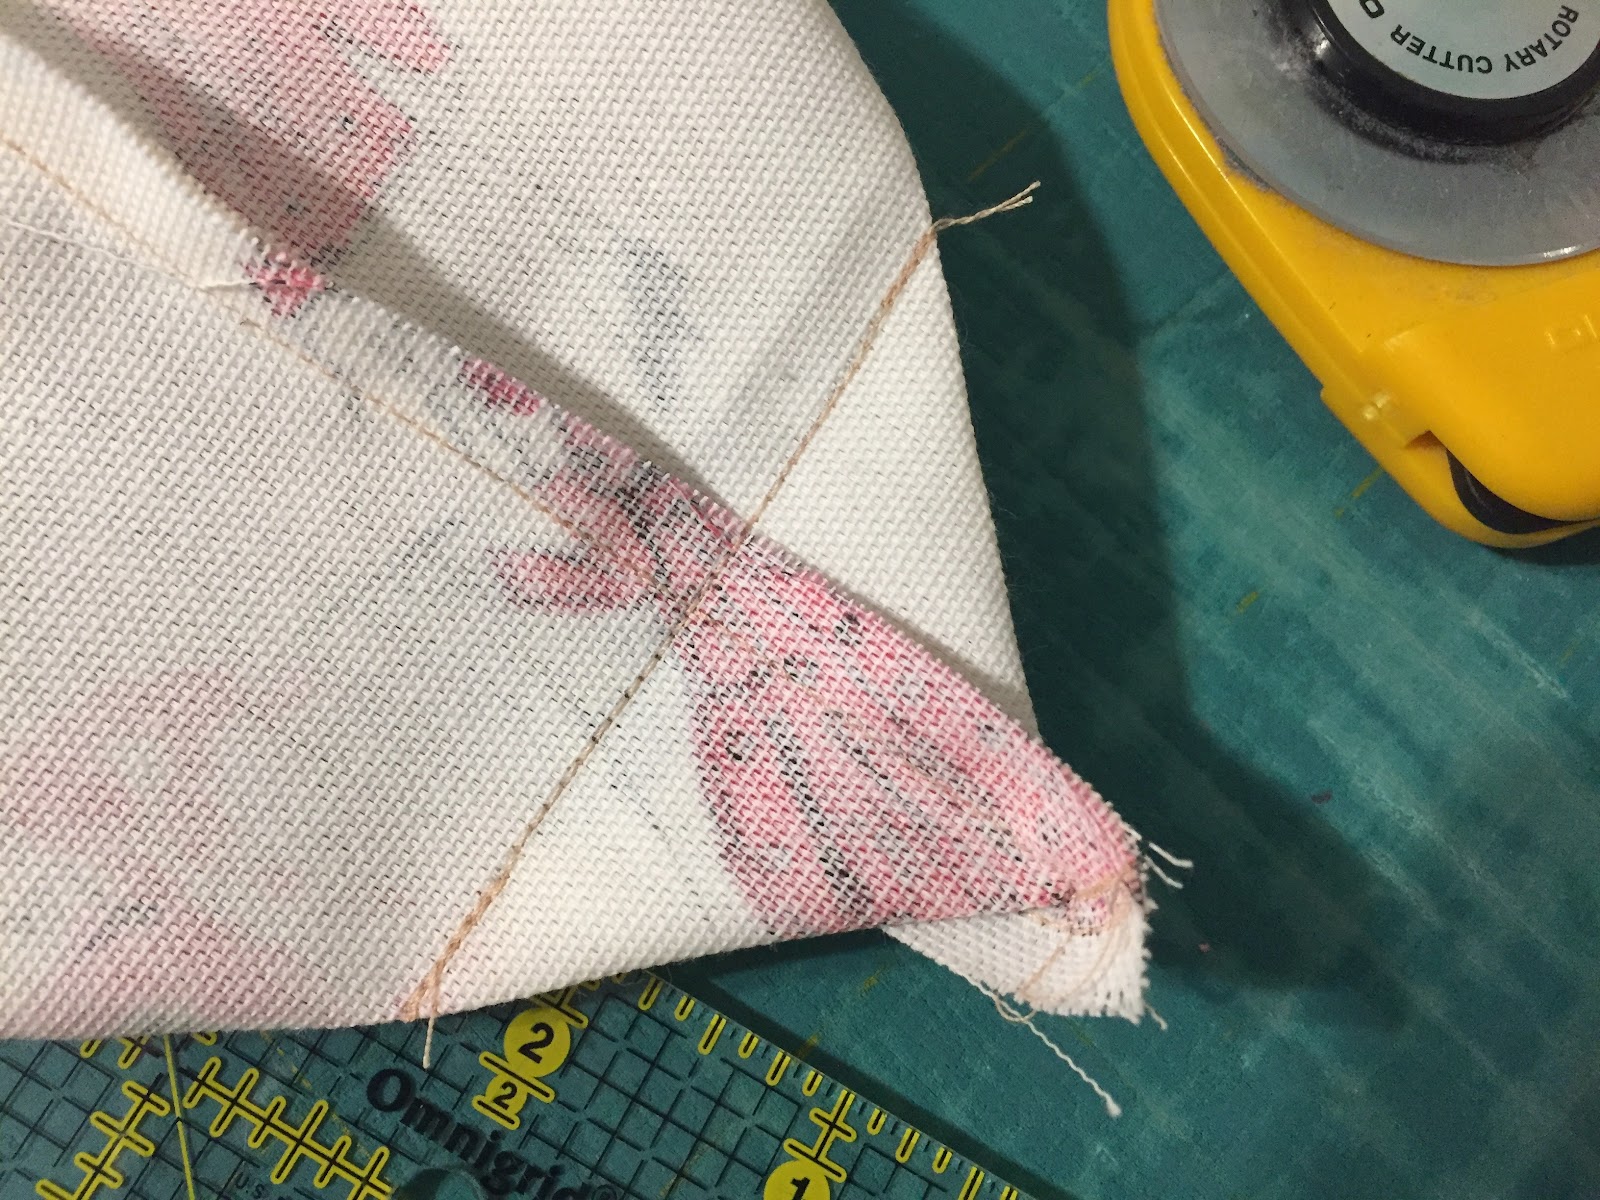
| This is the tricky part. Boxing the corners. |
Line up seams so that the corner creates a right angle between the front and
back section and the seam is in the center.
8. With a ruler - preferably with a right angle marking - center the seam.
Draw a stitching line. The length of the stitching line will be the width of your bag.
Pin in place.
12. Cut straps the desired length.
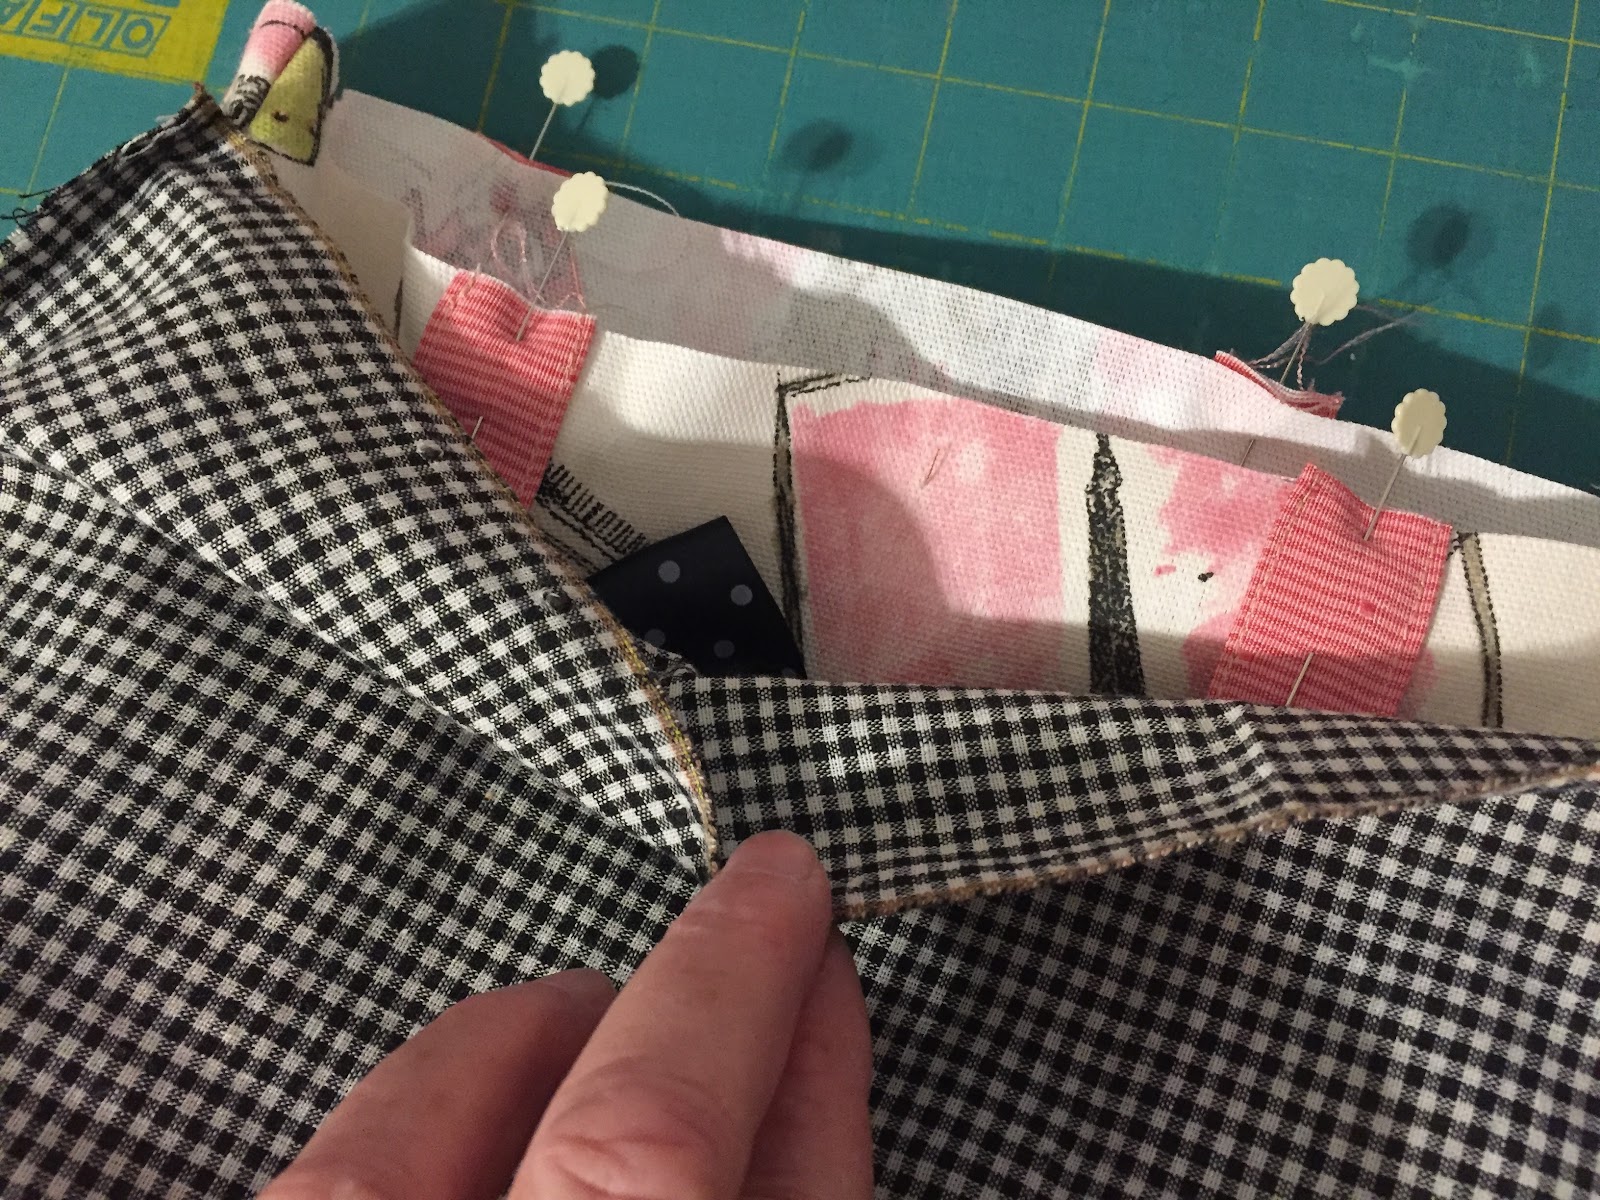
14. Turn lining bag inside out. Place outer bag inside lining bag.
Right sides should be together. Line up tops neatly. Pin tops together.
16. Begin sewing the bag top at the double pins on the right and continue
sewing around until you reach the double pins on the left. Make sure to
back stitch at the start and stop.
18. Make sure the corners are nice and neat and press everything carefully.
20. Sew around the top edge of the bag making sure to sew the opening closed.
Fill it with goodies and go show it off !!
 |
| Pin, mark, and ....... |
Draw a stitching line. The length of the stitching line will be the width of your bag.
Pin in place.
9. Repeat on all corners of outer (focus fabric) bag and lining bag.
 |
| ........ Sew! |
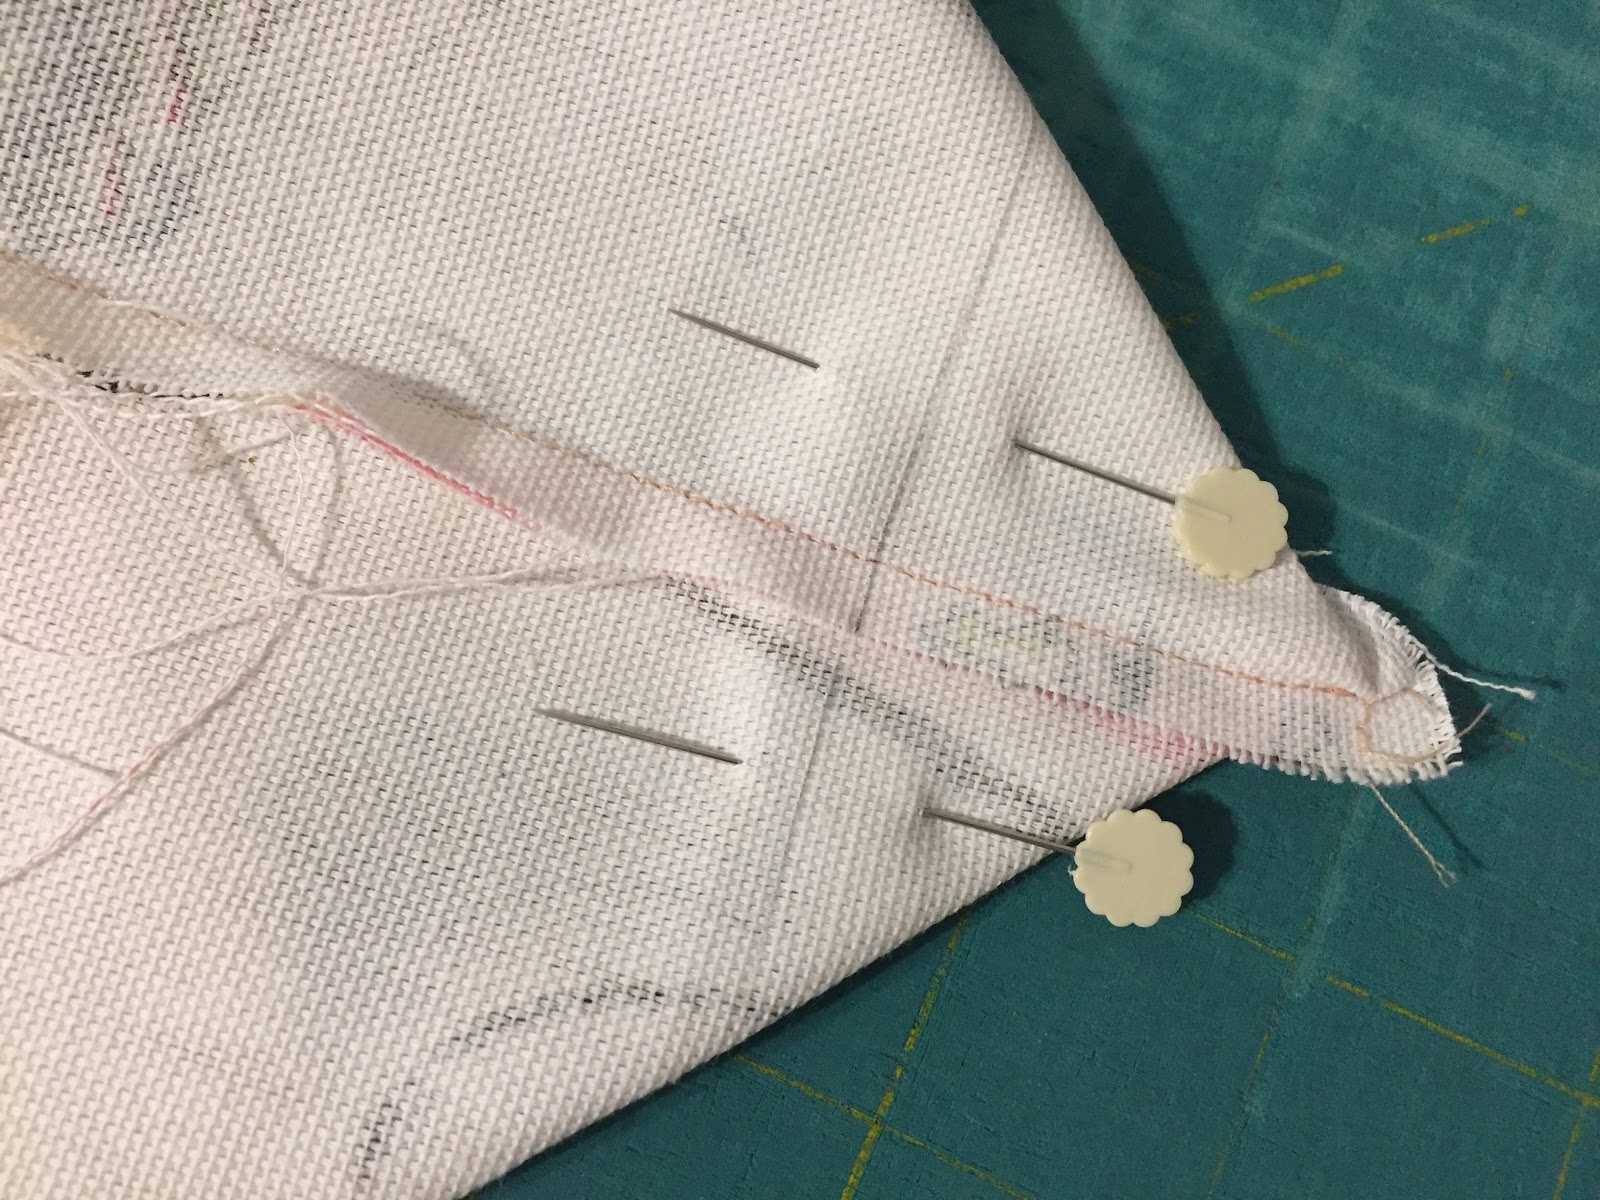
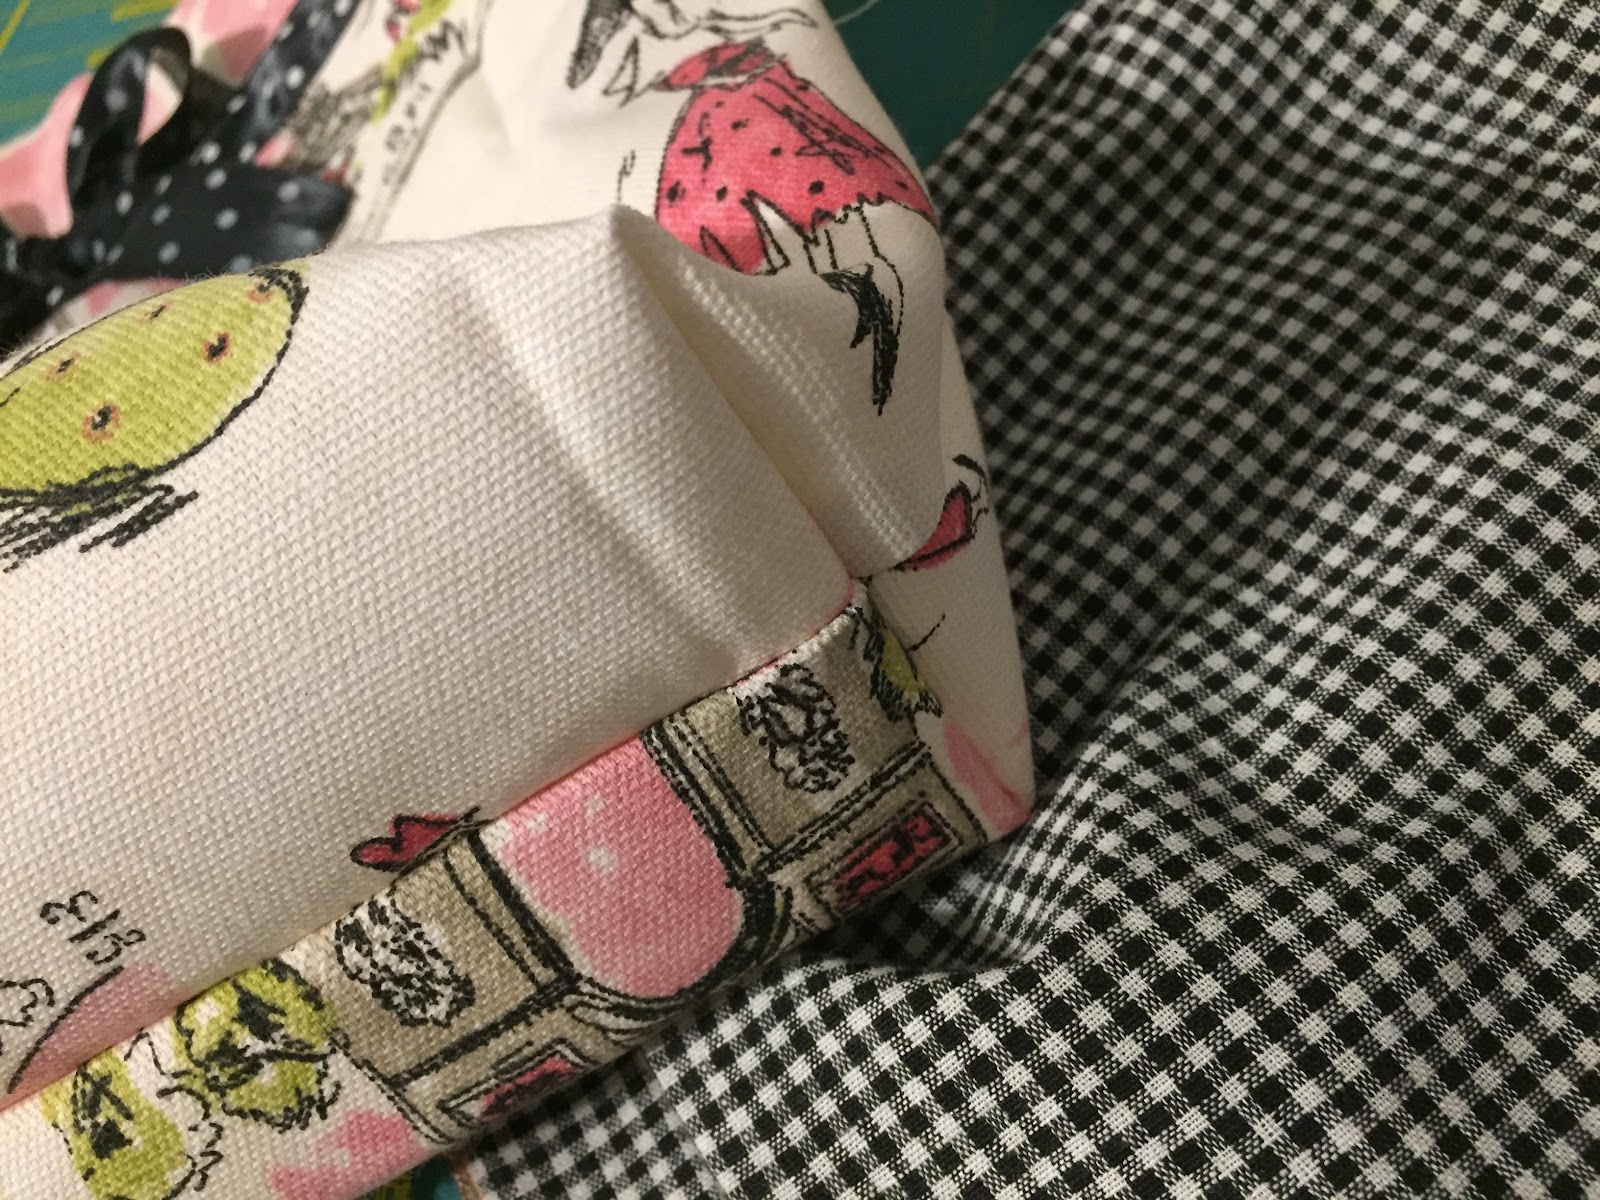
10. Sew corners.
Cutting off the excess fabric is optional.
 |
| Square them up nicely! |
11. Poke out corners so the bags are nice and square.
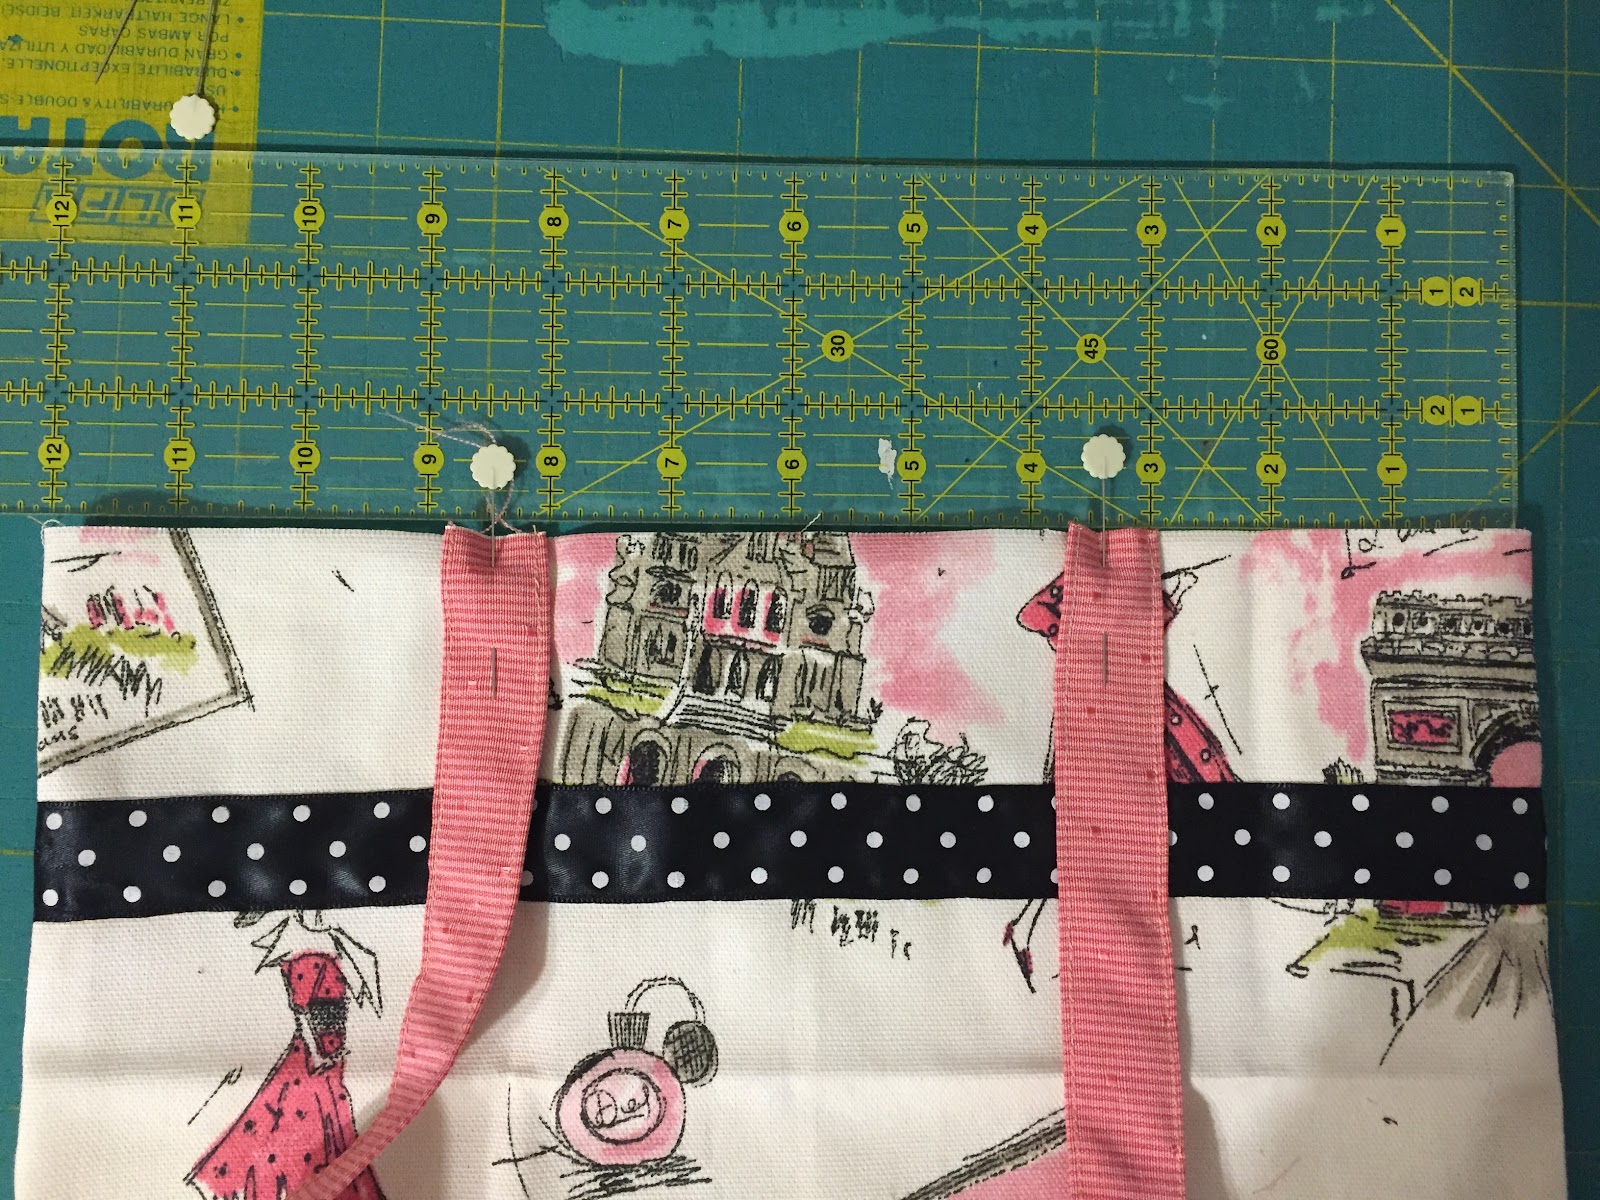 |
| Pin straps. |
13. Using a ruler as a guide place straps 3” to 3.5” from the side of the outer bag.
Make sure right sides are together and straps are not twisted.
Use 2 pins to pin in place so it will stay even with the top.
 |
| Right sides together - very important! |
Right sides should be together. Line up tops neatly. Pin tops together.
 |
| Leave an opening - very important! |
15. You will sew around the top leaving a 3” - 4” unsewn opening.
Do not leave the opening where the straps are or between the straps.
Double pin the outer limits of the place that you will leave open.
 |
| Leave an opening - super important!! |
sewing around until you reach the double pins on the left. Make sure to
back stitch at the start and stop.
Note: I like to backstitch over each strap after I’ve sewn over it to reinforce it.
 |
| Turn right sides out. |
17. Carefully pull the bag sections through the hole that you left open.
 |
| Press the top edge neatly, especially the opening. |
19. Press the top edge of the bag. Make sure to press the opening so that it
visually matches the sewn edge.
 |
| Top stitch. |
 |
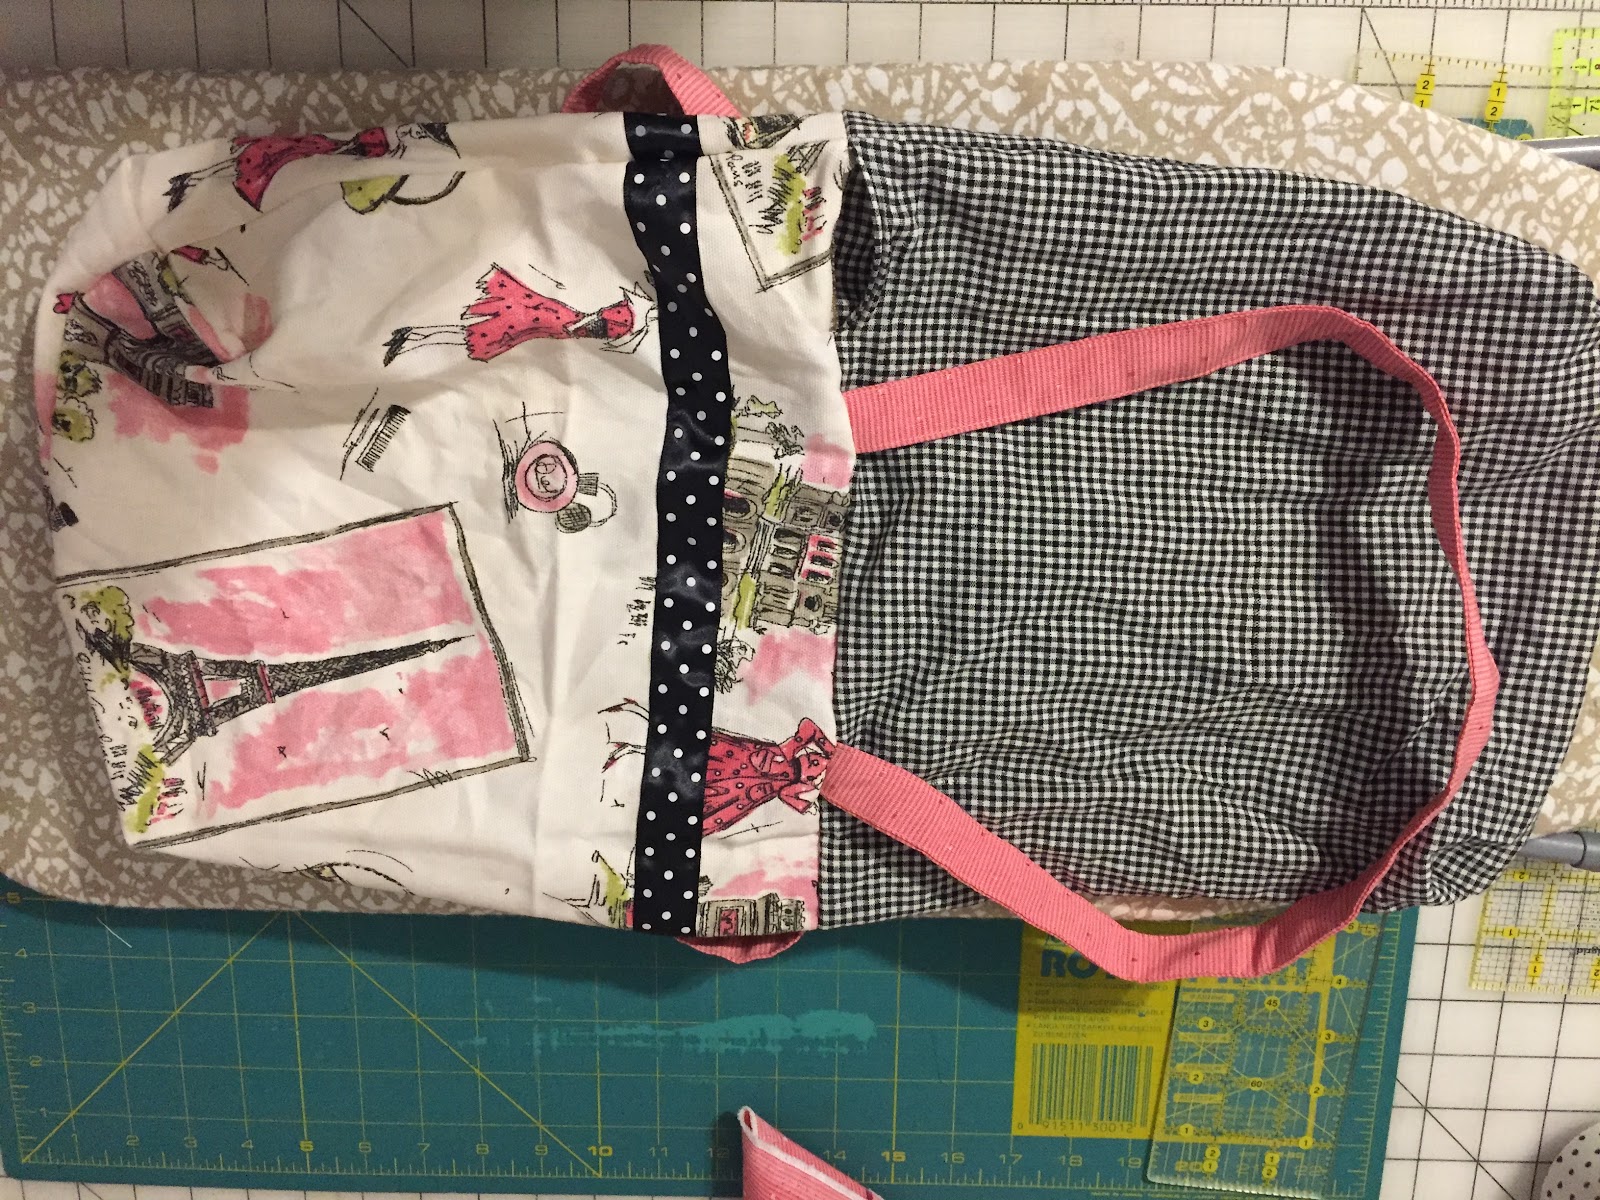
| Two-color version. |
 |
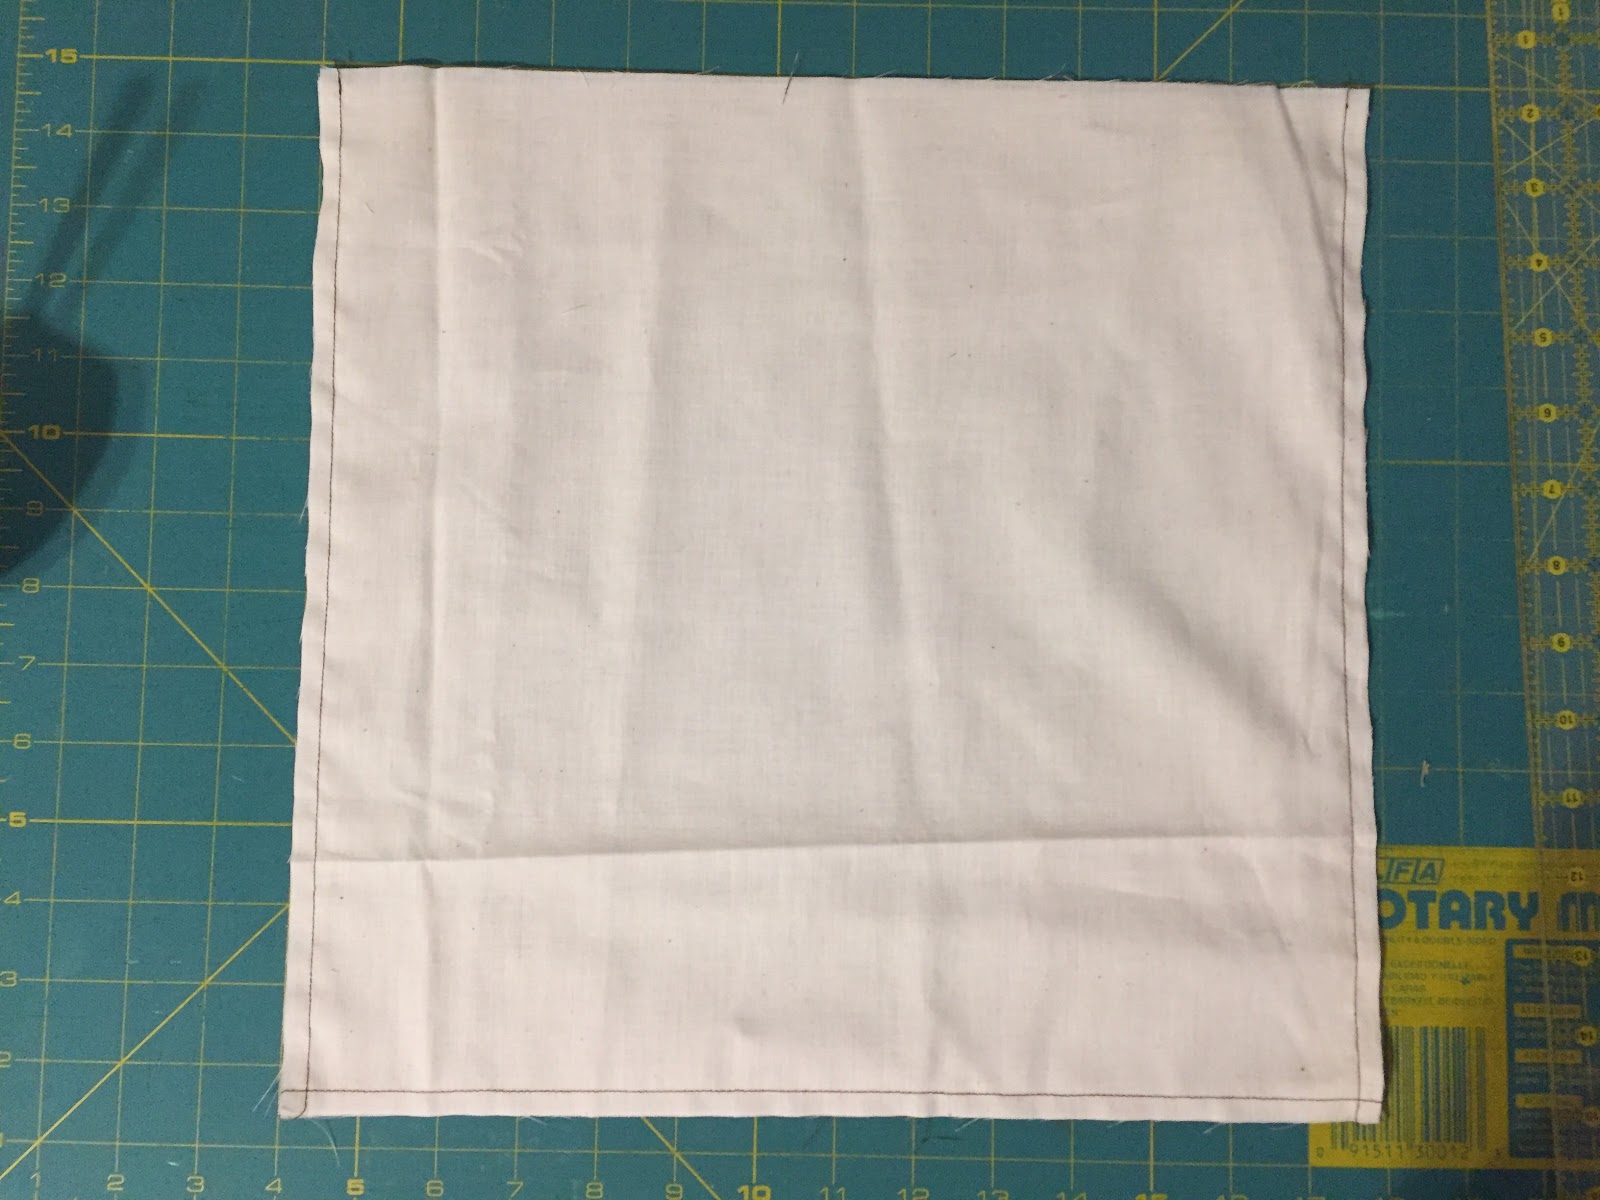
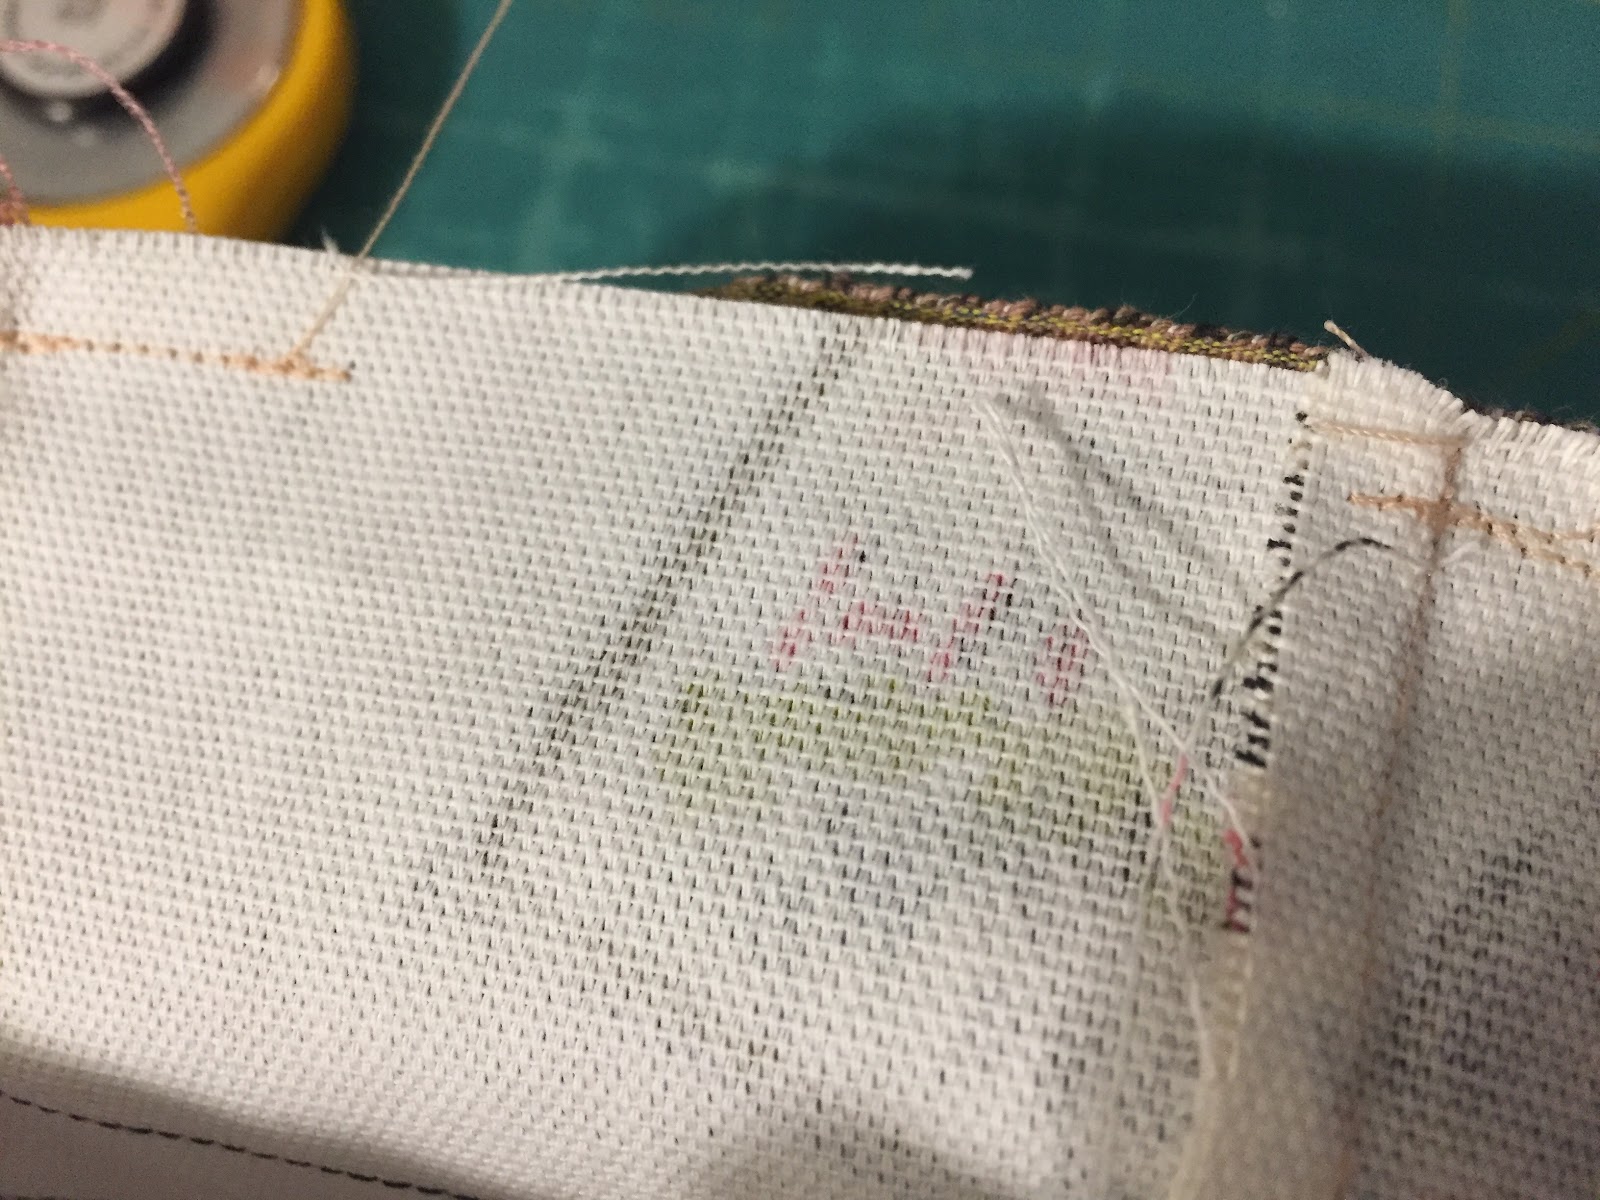
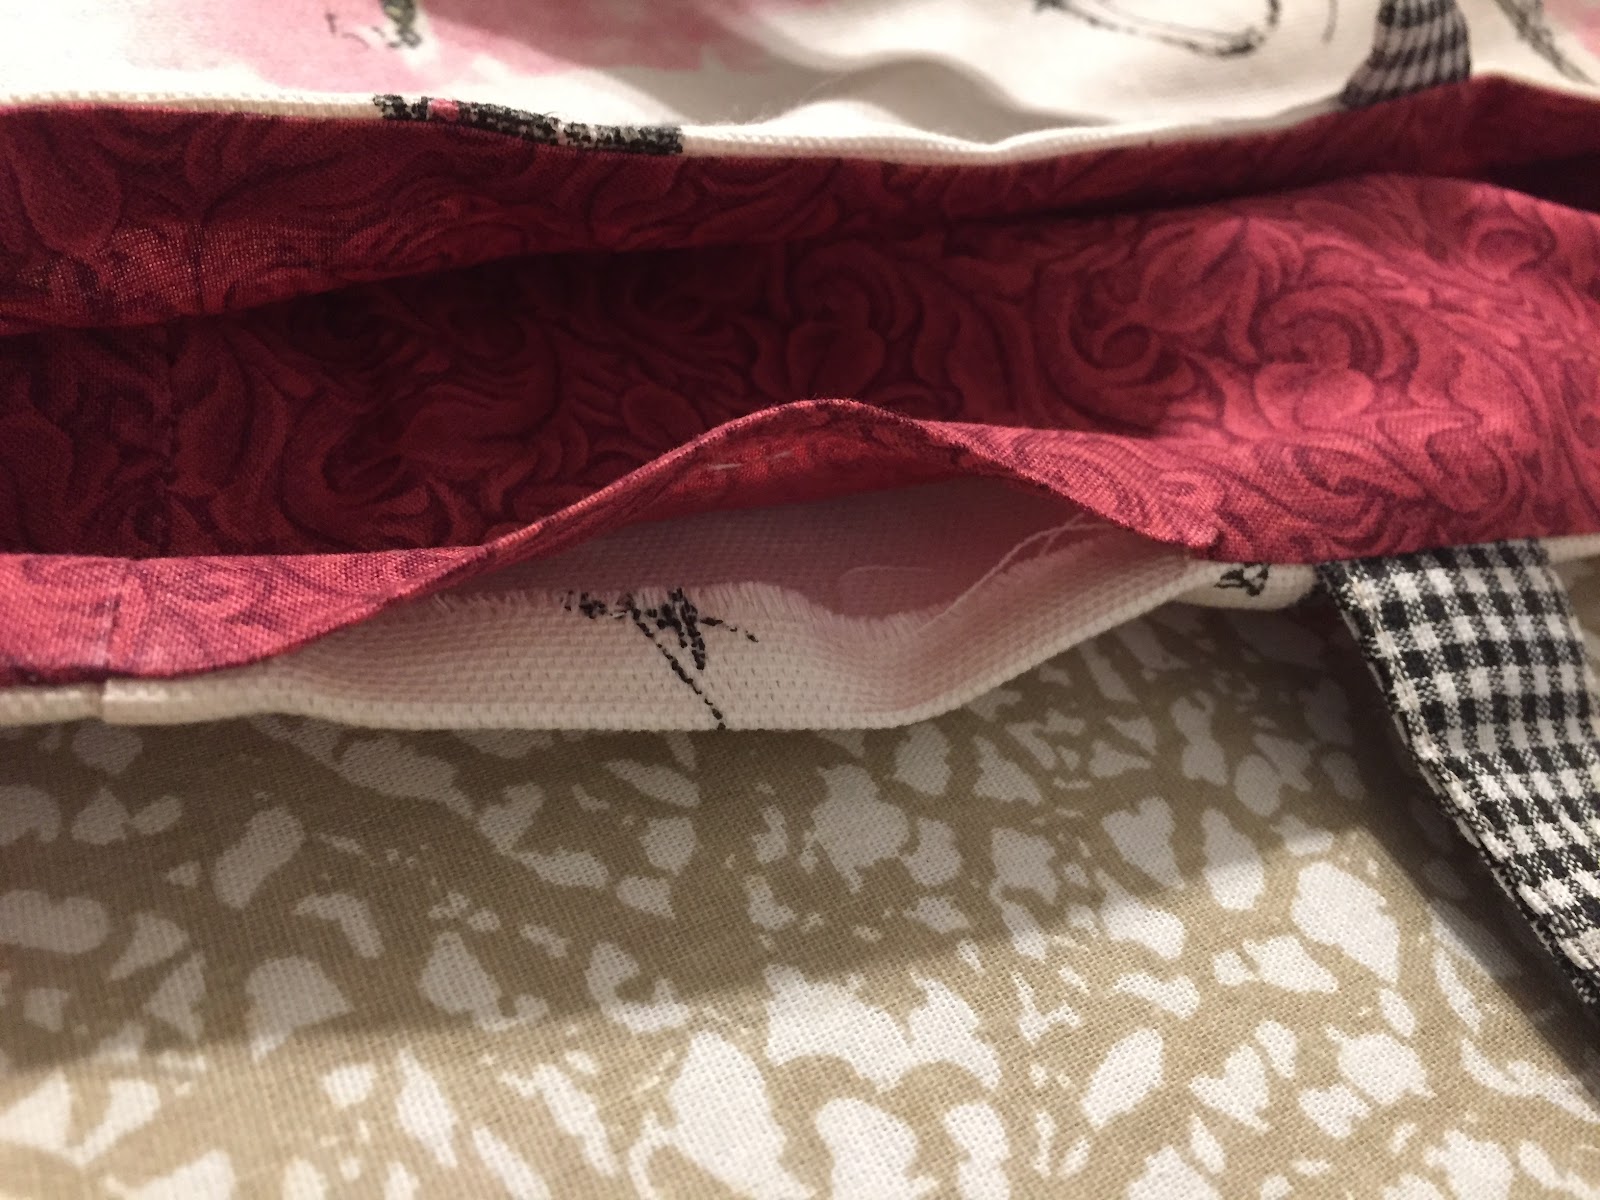
| Inside pocket. |
Fill it with goodies and go show it off !!
No comments:
Post a Comment
Thanks for stopping by. Let me know what you think!